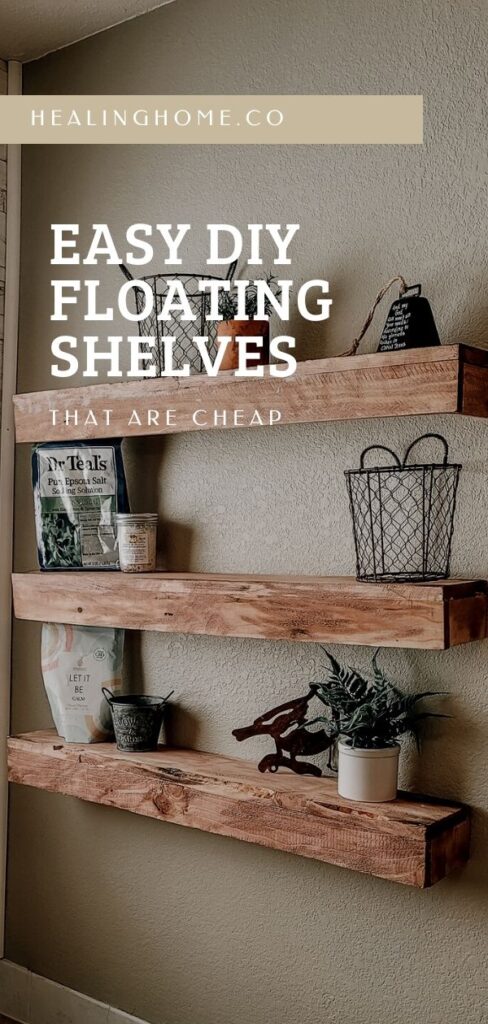
Floating shelves have always intimidated me. Why? I have no idea because once I created them, I was amazed and how easy and simple it was to put together and even hang! To make DIY floating shelves, all you need is some minimum skills with tools and some basic measuring mastery.
This page may contain affiliate links. To view my full affiliate link disclosure, click here. There are Amazon affiliate links in this post. As an Amazon Associate, I make a small commission from Amazon links in this post. Find our privacy policy, terms of service, and more information about user data by visiting the links above.
How do you Make a Simple Floating Shelf?
The key to making these easy DIY floating shelves is buying the brackets. If you are making your own floating shelves, some type of bracket system is non-negotiable. I like these brackets because all you need to do is find studs, screw them in, and then place the shelves on top.
I also made this a simple project by screwing the pieces of wood together and then putty the screw holes. This made it so there was no clamping involved, which also adds an additional time frame to the project to let the glue dry.
If you want to simplify your time, use brackets to hold the shelves and use screws to secure the shelves together. I also found that instead of using an oil-based stain, the water-based tint worked fine, and allowed my dry time to go much faster.
How do you Make Sturdy Floating Shelves?
Once again the key to making study floating shelves is to use the brackets. As an experiment, I added simple sawtooth hanging hardware to the back of my shelves and tried hanging them that way. The shelves immediately started leaning forward as a result. My conclusion is that it is best to use some type of bracket that is screwed into a wall stud. This is the best way to make sure your easy DIY floating shelves are sturdy.
How do you Make Cheap Floating Shelves?
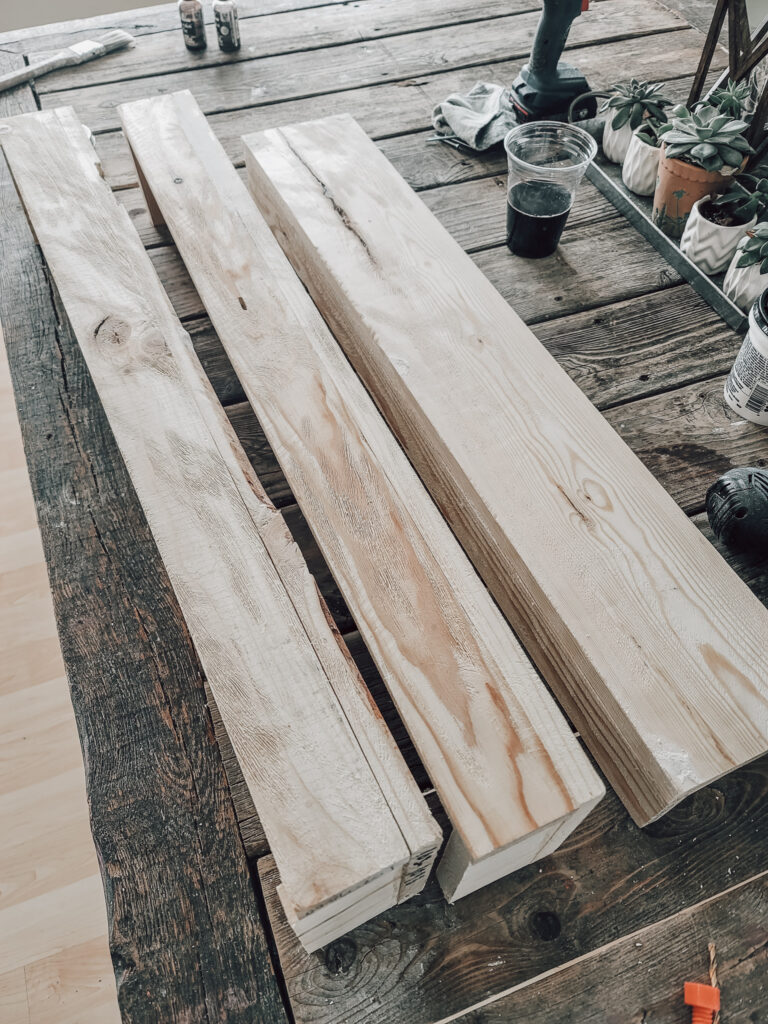
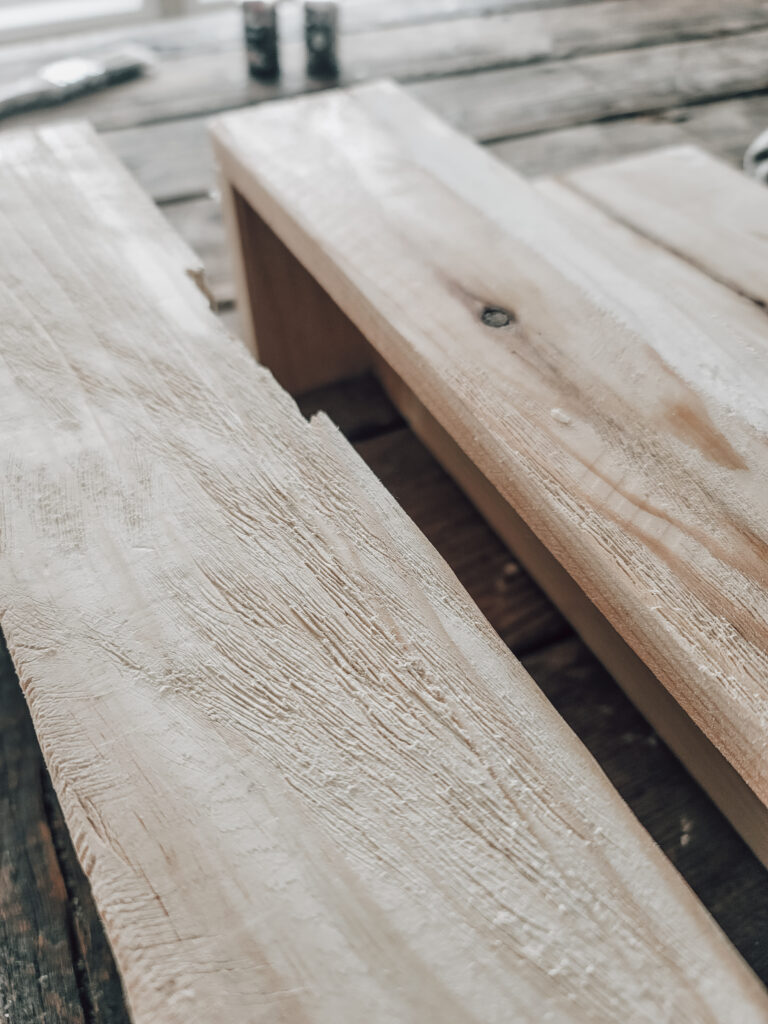
I used simple pine boards for this project and painted them using a water-based tinted stain and wax. Pine was the cheapest board I could find. They were $2.74 for a 4-foot board. This also made them the softest wood too. For the sides, I grabbed ‘deal wood’ boards. These were varying lengths but the same width. They were $.87 per board. I bought 5 of those boards because I needed extra to make the sides.
When screwing the boards together, I recommend partially pre-drilling the holes. This helps the boards not split once they are being screwed together.
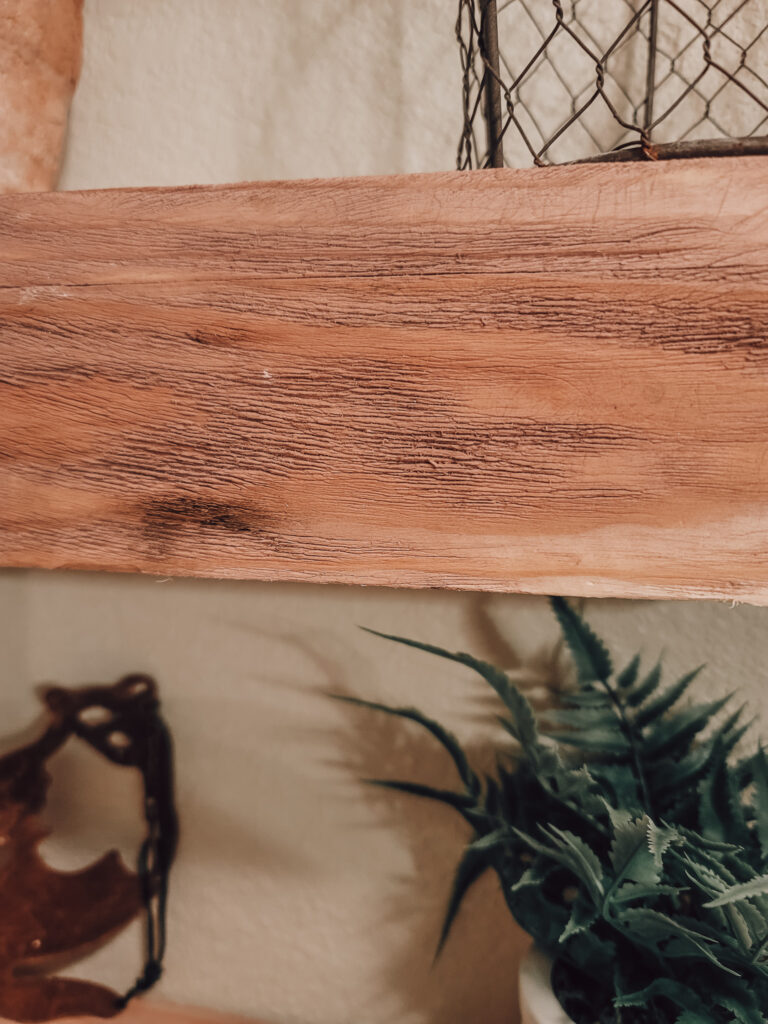
Making the Wood Look Old
This was the most fun part of the project. I wanted my wood to look aged. To achieve this look I used a wire brush. I picked up my wire brushes the previous day, so I was very excited to try this method.
I will caution you that using a wire brush makes quite the mess. If it is not -20 degrees outside (like it was when I was doing this), you may want to consider using the wire brushes outside. Otherwise, be prepared to do some vacuuming!

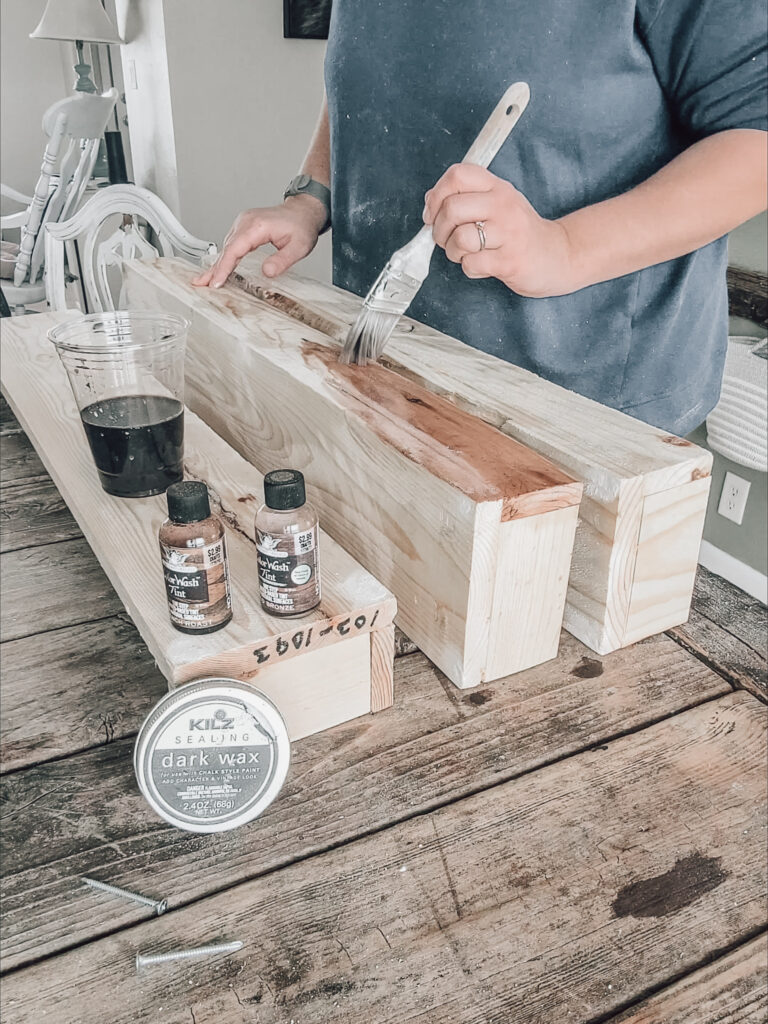
Painting the Floating Shelves
You truly could use any type of stain to achieve an older look. However, I decided that I wanted a quicker dry time. I used Tattered Angles Color Wash Tint. It has a faux finish with a touch of metallic. I have only been able to find this type of Hobby Lobby. A similar finish can be achieved with a gel stain.
The Floating Shelf Sizes
For each shelf there were four pieces of wood that I cut.
1 – 32 3/4 inch top
1 – 32 3/4 inch front
2 – 5 1/2 inch sides
I used 1 inch screws to secure each side with wood glue.
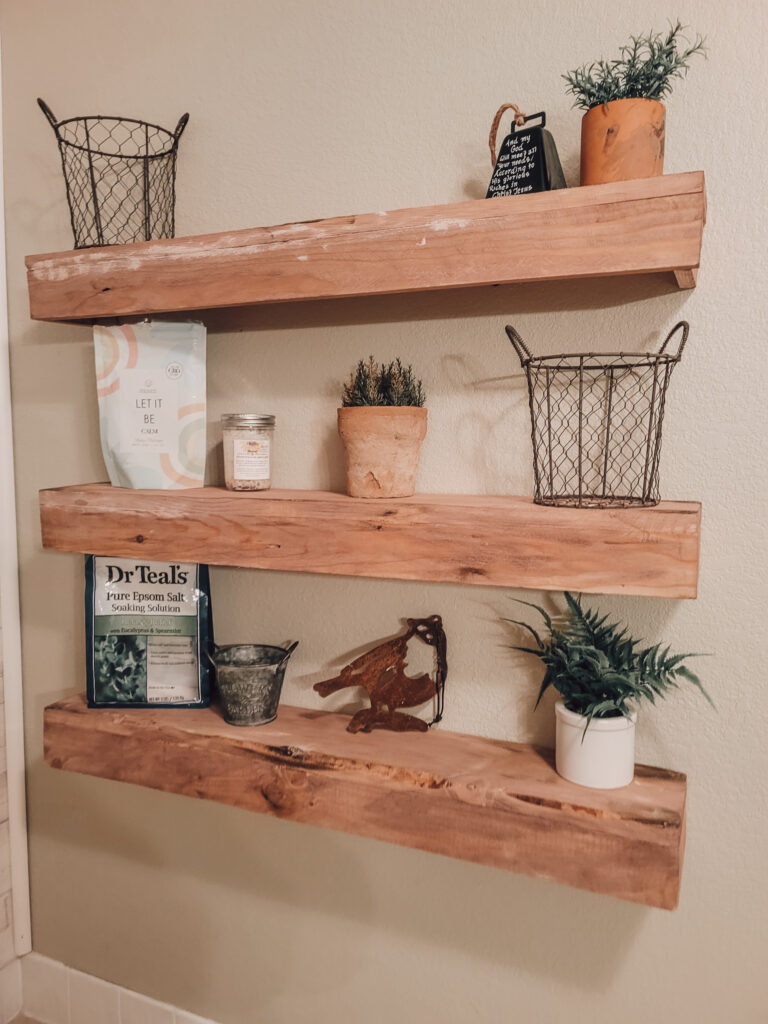
Styling the Floating Shelves
Styling any shelf can be a tricky business. You don’t want too many kick knacks, but you don’t want the shelves bare either.
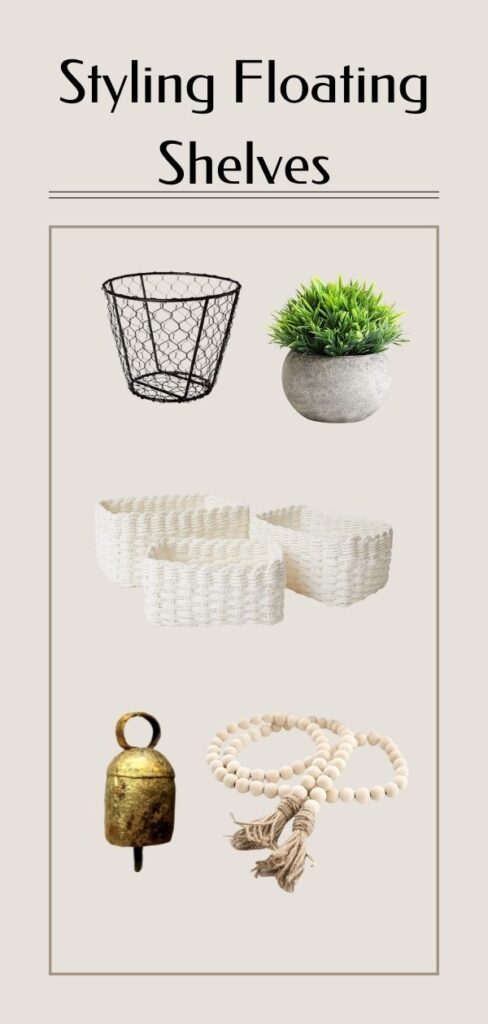
The key is to grab some similar items and repeat them.
The wire baskets are out of stock, but I have liked a similar item below. I repeated the wire basket, bath salts, and small plants
I tend to be the type that likes to have unique items that have meaning to me. The bell on top of the shelf is from our wedding, the rusty bird is from a wind chime that broke. However, I have included some similar items or ‘inspiration’ ideas below.