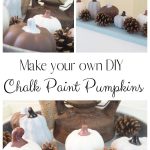
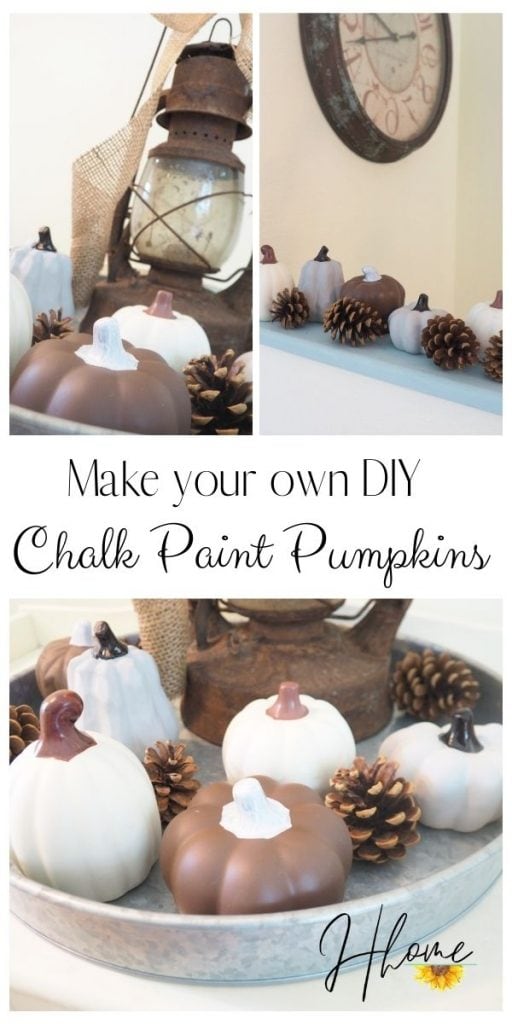
Creating DIY chalk paint pumpkins couldn’t be easier or cheaper with this process! Beautiful and colorful pumpkins that you can customize for any decor and color scheme! Enjoy this quick afternoon project and customize your fall decor to your own liking!
This page may contain affiliate links. To view my full affiliate link disclosure, click here. There are Amazon affiliate links in this post. As an Amazon Associate, I make a small commission from Amazon links in this post. Find our privacy policy, terms of service, and more information about user data by visiting the links above.
Creating DIY Pumpkins that Match your Decor
It is tough to find a pumpkin that matches your fall decor. I have searched high and low for something that is not aggressively orange or red. I finally headed to our local dollar store knowing that whatever I purchased could be easily painted.
Dollar store pumpkins can be a nice addition to fall decor because they can be painted again and again to match your latest decor desires. The best part of this DIY chalk paint pumpkin process is that it is easy and customization to fit your own decor scheme.
Neutral and rustic color tones in homes do not often adapt well to the vibrant pushy color tones of fall and Christmas. So I went with some neutral tones that went with my own decorating themes. You can completely adapt this to make DIY chalk paint pumpkins to match any color scheme!


DIY Chalk Paint Pumpkin Materials
- Cheap Ceramic pumpkins from a local thrift or dollar store.
- Note: You can purchase nice pumpkins if you wish, but these were easy to de-gloss and the paint attached easily because of the cheap paint.
- These are also an option if you don’t particularly enjoy stepping in a store.
- A de-gloss liquid like this one.
- Rustolemum Chalk Paint according to your desired color choice.
- Oil based Sharpie Markers
My Chalk Paint Pumpkin Colors
The chalk spray paint is a favorite of mine as it goes on smooth and has the chalky look that is so appealing. Rustoleum is also my favorite spray paint right now. The spray nozzle never fails, and the paint is supreme.
Start by taking the finish off your pumpkins (if you bought them from the dollar store). You will want to wear gloves with the de-gloss liquid as it is a very potent chemical. You can see in the picture below how the finish came off this pumpkin.
Note: We don’t have many chemicals in our home as I believe strongly in more natural and plant-based products. However, the de-glosser is an exception because it is such a powerful option when you don’t want to sand for hours on a project.
Coating the Chalk Paint Pumpkins
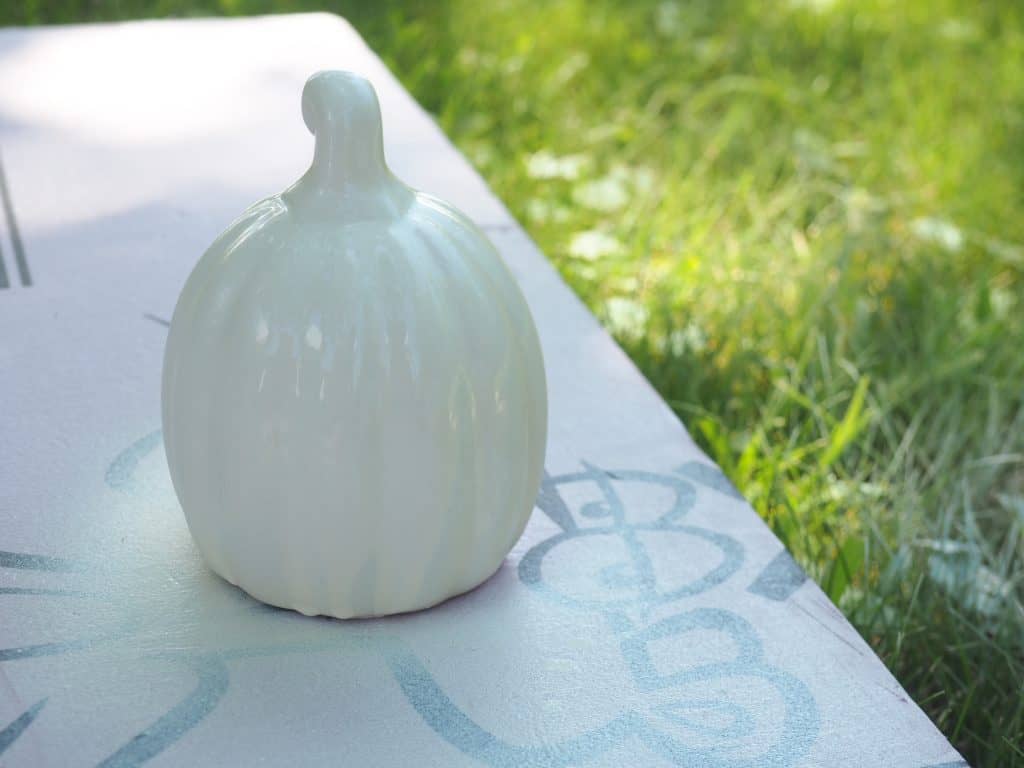
After you choose your color, gently coat the pumpkins with at least 3 layers of paint. Unfortunately, I painted these on one of the most humid weeks in Minnesota, and the spray paint was a mess.
In many of my pictures, you can see the drips and bubbles up. Once you have drips and bubble-ups, it’s nearly impossible to fix unless you let it dry and sand the entire surface down. That was not something that I felt like doing with this project, so I compensated by adding some additional layers of paint. It doesn’t solve the build-up, but it can make it less visible.
Some of my pumpkins needed 5 coats because of my impatience and the humid conditions.
Basic Lesson: Don’t spray paint in excessively humid weather.
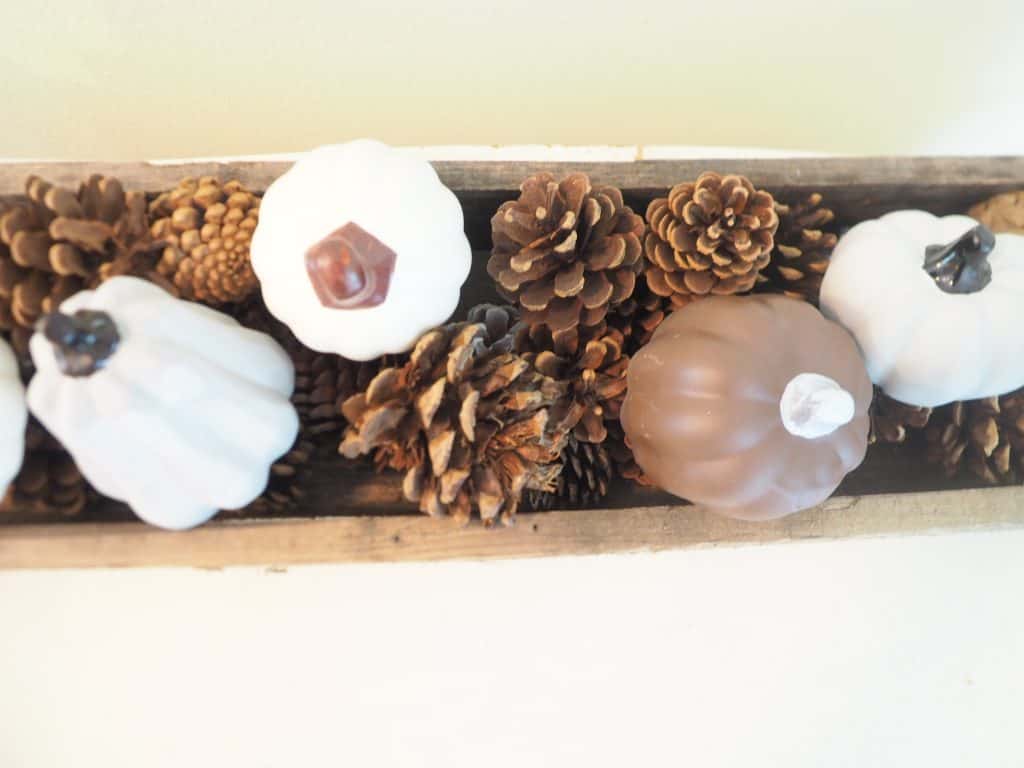
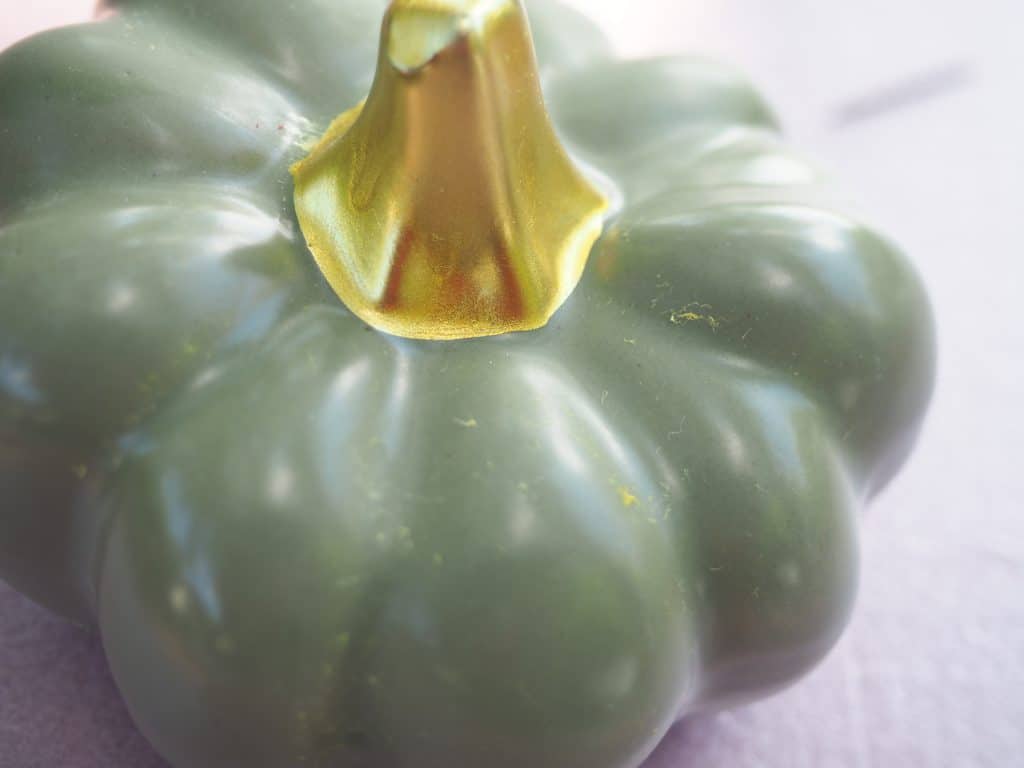
Drawing the Stems on your DIY Chalk Paint Pumpkins
After the chalk paint pumpkins have thoroughly dried, take your oil-based Sharpie Pen and start drawing on the stem. Darker colors tend to blend better with the lighter-colored pumpkins, so my black and brown stems were definitely a favorite. It’s important to follow the lines of the pumpkin. A stem line moves up and down not sideways, so using small circular motions draw upwards.

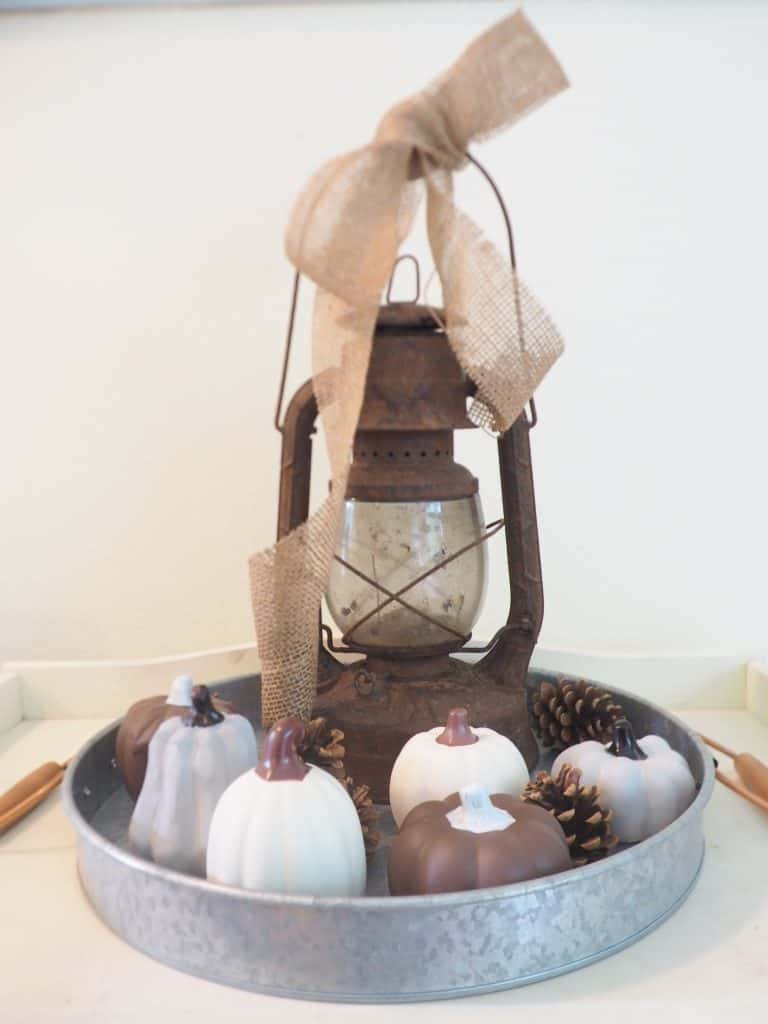
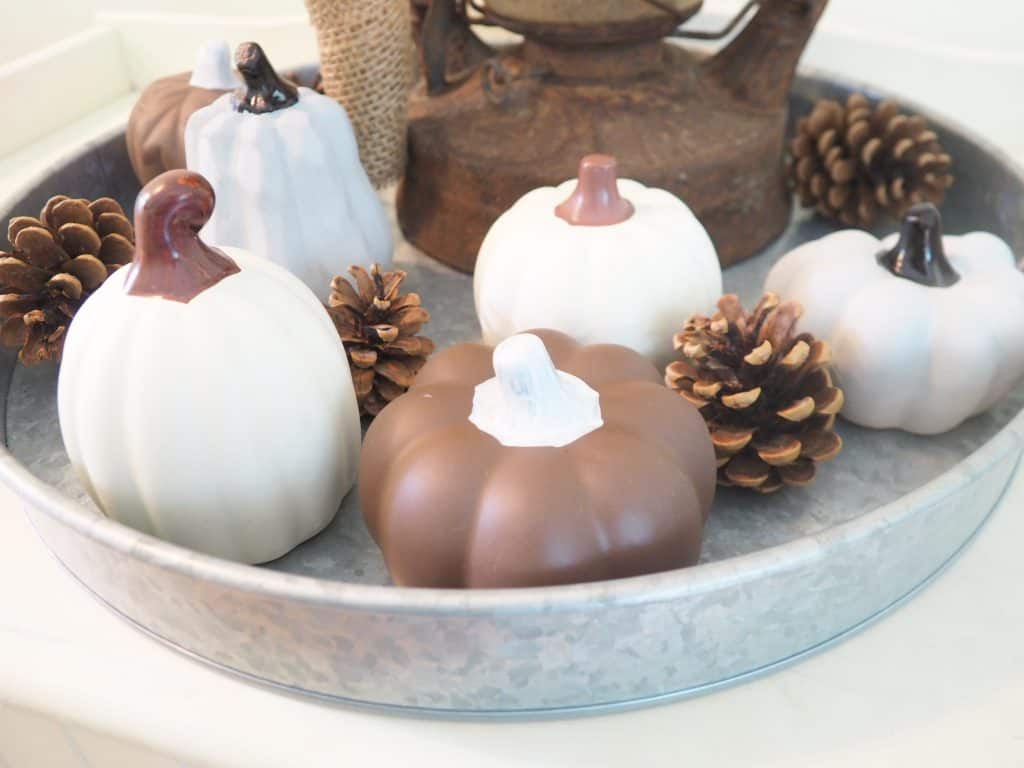
The Finished DIY Chalk Paint Pumpkins
These are delightful little pumpkins to spread around your Fall Decor’! And the chalky finish looks trendy and neutral!
You can use a Matt Clear Coat on these if you desire to finish or protect the paint. I like to leave mine un-coated so I can change the colors throughout the years to match my mood every season!
If you liked this project, you can find other easy DIY projects, like this cake platter, by visiting my DIY library.
Enjoy your chalk-painted pumpkins throughout the entire Autumn and Thanksgiving Season!