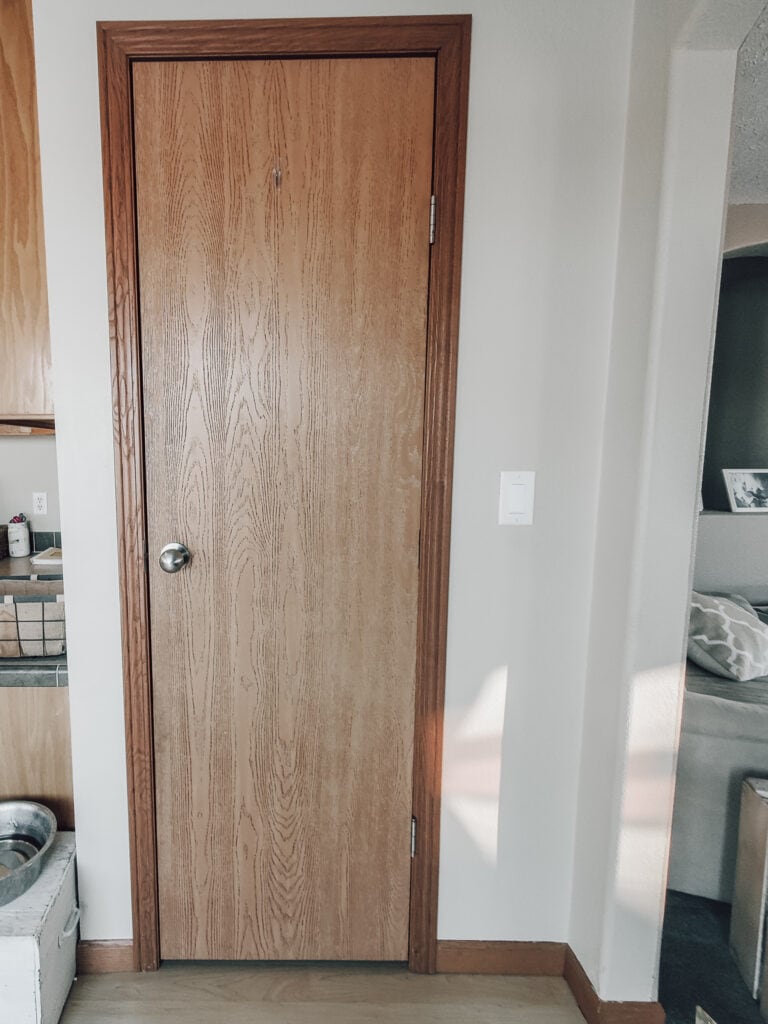
I was 14 weeks pregnant, and something went ‘crack’ in my brain. I had to paint my trim and doors immediately. There was not one second to waste! It’s funny how the pregnant emotions and brain work. One of my Instagram friends called in ‘nesting’, but all I knew was that painting trim and doors were a high priority on my to-do list. I wanted the brown gone and everything bright and white.
Painting trim and doors can seem intimidating because it takes a lot to undo them. However, with just a few tips and tricks, you can do it well without breaking the bank or your sanity.
This page may contain affiliate links. To view my full affiliate link disclosure, click here. There are Amazon affiliate links in this post. As an Amazon Associate, I make a small commission from Amazon links in this post. Find our privacy policy, terms of service, and more information about user data by visiting the links above.
How to Paint Trim Like a Pro
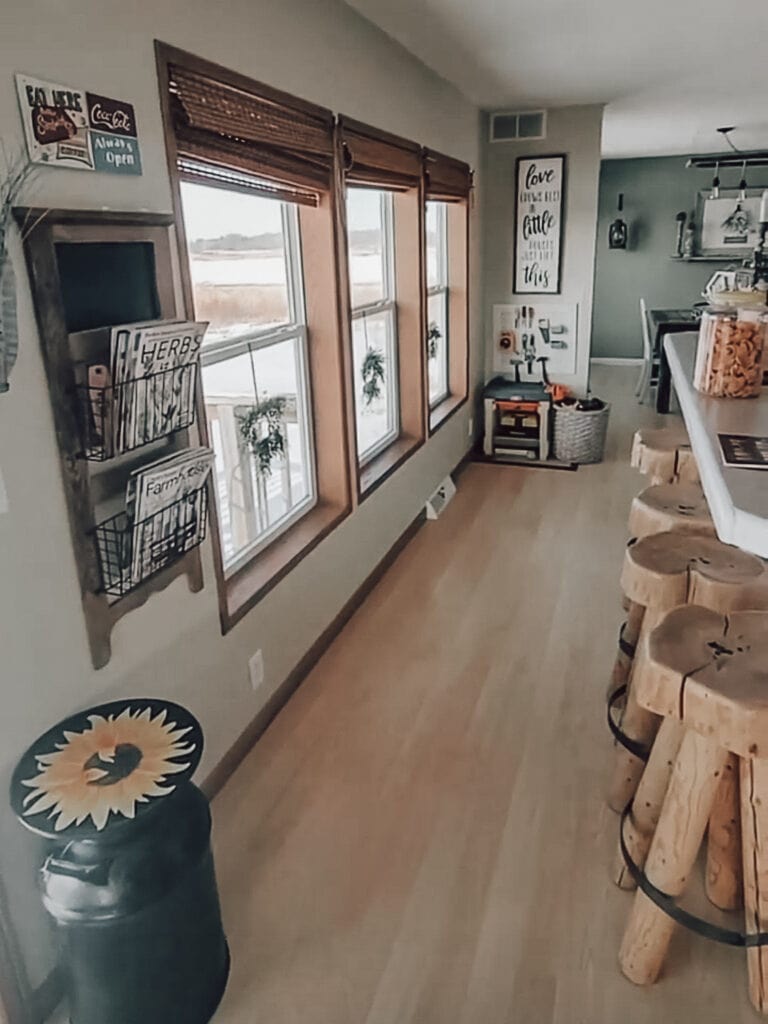
This is the second time that I have painted the trim and doors in my house. The first time I had window frames that were on the verge of rotting and we were dealing with ample amounts of mildew and some mold. This time around, I painted windows and trim that was in excellent condition with no moisture issues.
There were some very distinct differences in prepping and painting trim and doors in my previous house and my current home.
I am not a professional painter, so this is simply my experience with painting trim and doors. If you are looking for a basic step-by-step instruction guide from a professional, I recommend this article.
Best Paint for Interior Doors and Trim
The largest difference between painting trim that has moisture as opposed to trim that has no moisture damage.
My recommendation is with moisture trim to sand the entire surface and then start with mold and mildew interior paint like Perma-White paint. After that use, latex paint for your coloring choice. I used three coats of this for a total of four coats of paint. I then sealed it with polyethylene.
However, in our new home, we chose a different route because our windows have zero visible moisture. In this case, I prepped the windows and trim simply by washing everything. There was a lot of texture in the wood, which helped it stick.
In some areas with higher traffic, I used a de-glosser, like this one. The only purpose of this was to help oils that may have accumulated on the wood from excessive touching. In hindsight, I should have used the sander de-glosser on all the surfaces I was painting. It is just a better DIY practice.
I decided to use Rustoleum Linen chalk paint for this project because I love the matte appearance and I like working with this product. I do have a caution for anyone that chooses this route. Make sure you seal the paint. From my experience, any sort of chalk paint is very susceptible to dirt, grime, and oils. It will saturate anything unless it is sealed.
For sealing, I used two distinct products. For my doors, I use rub-on wax and for the trim, I use polyethylene.
Can you Paint Wood Trim without Sanding?
The short answer to this is, yes. However, if you are a new DIYer, I would caution you on jumping to that method. Sanding is ultimately the best way to ensure that you get your paint to stick. However, who has time to sand all that trim?!
A great tutorial on using a de-glosser can be found here. It goes into great detail about how to get the best results for each surface you use.
Should Doors be Painted the Same Color as Trim?
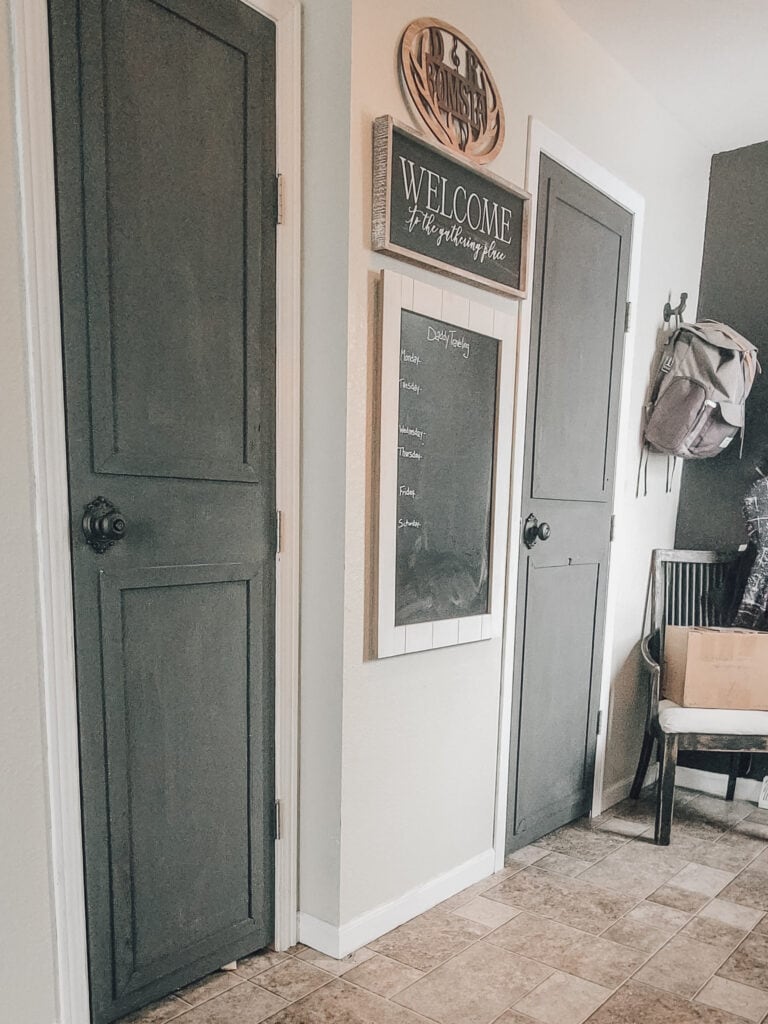
I believe this is a personal preference question. I have some of my DIY doors painted the same color as my trim and some are not.
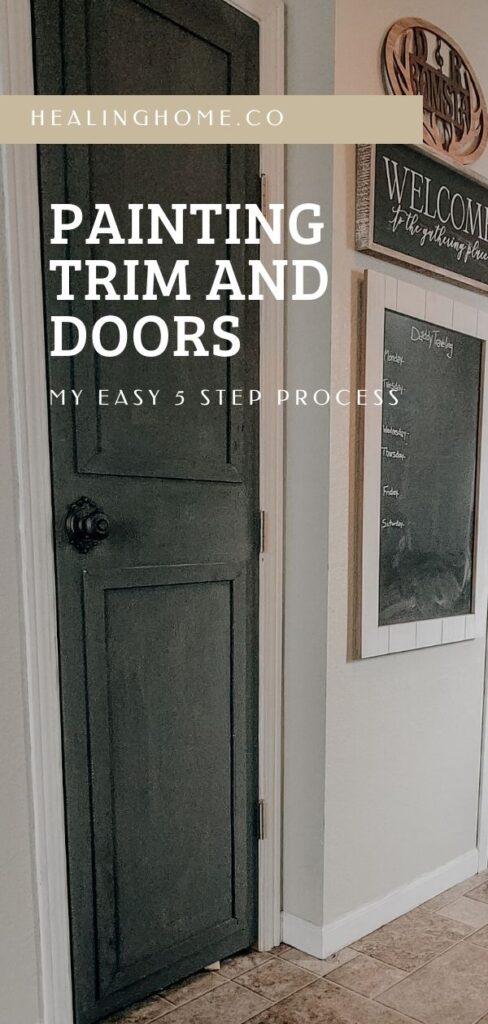
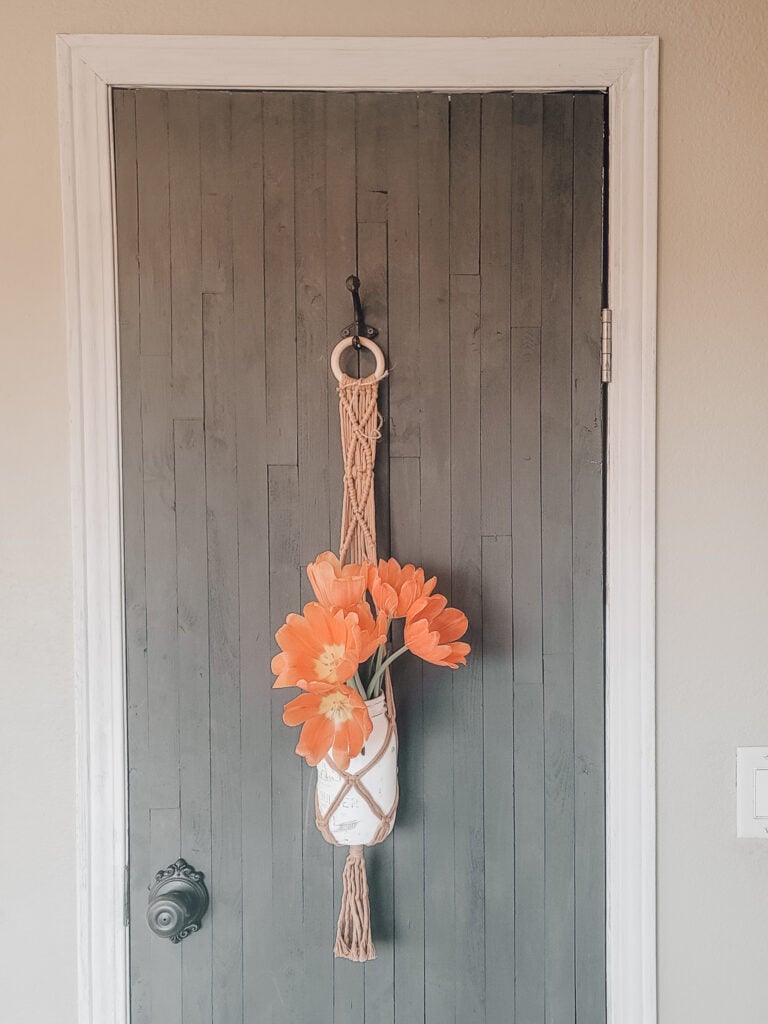
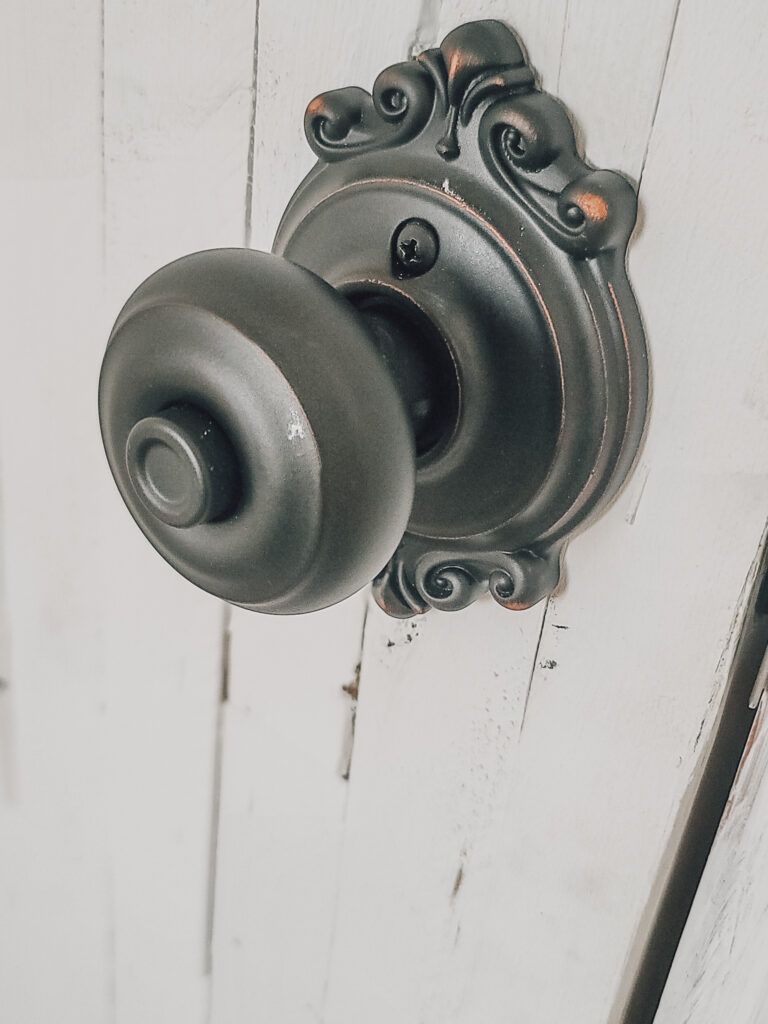
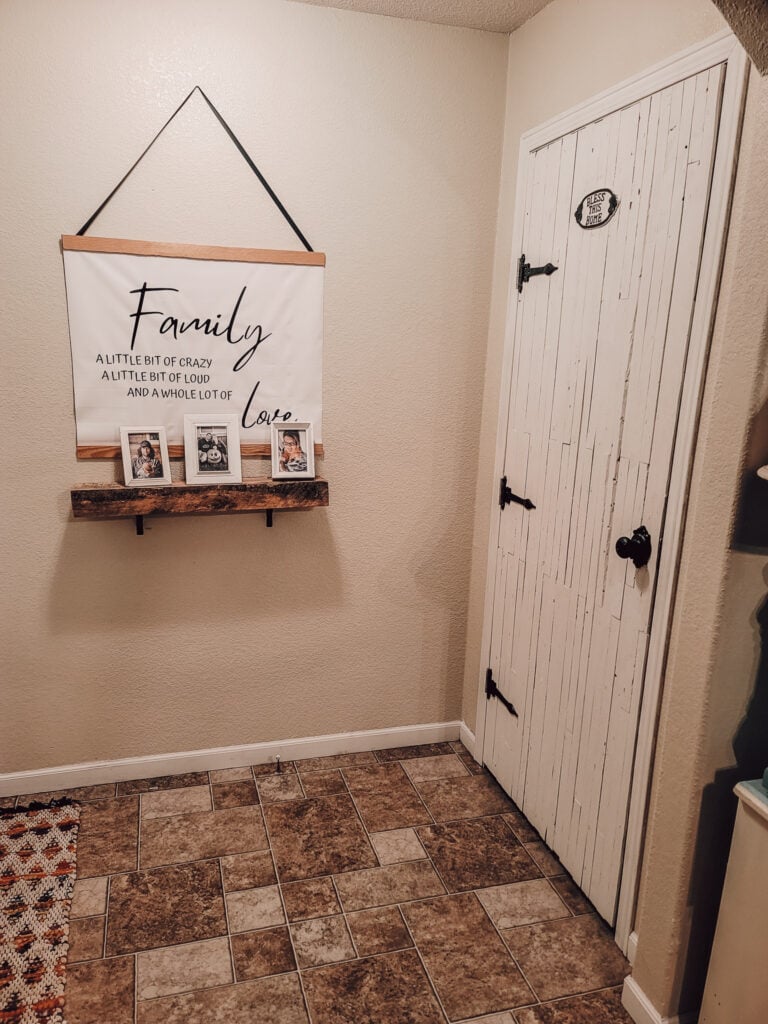
My pantry door was painted with Rustoleum Charcoal paint and the trim is painted Linen white.
Your home can be uniquely yours to fit your style! Your imagination is the limit!
You can watch that door transformation on Instagram at this link.
How much does Painting Trim Cost
I am only painting the trim in our upstairs. The square footage of that area is 1,389.5. If you are painting your doors the same color as your paint, you will end up using much more paint. I am roughly 1/2 of the way done painting my trim and I have used a grand total of 3 cans of paint.
Keep in mind that I have painted a complete door with that paint as well. My estimate is that for my 1,389.5 square foot upstairs, I will use 6 cans of paint, which will be $101.82. This is only an estimate.
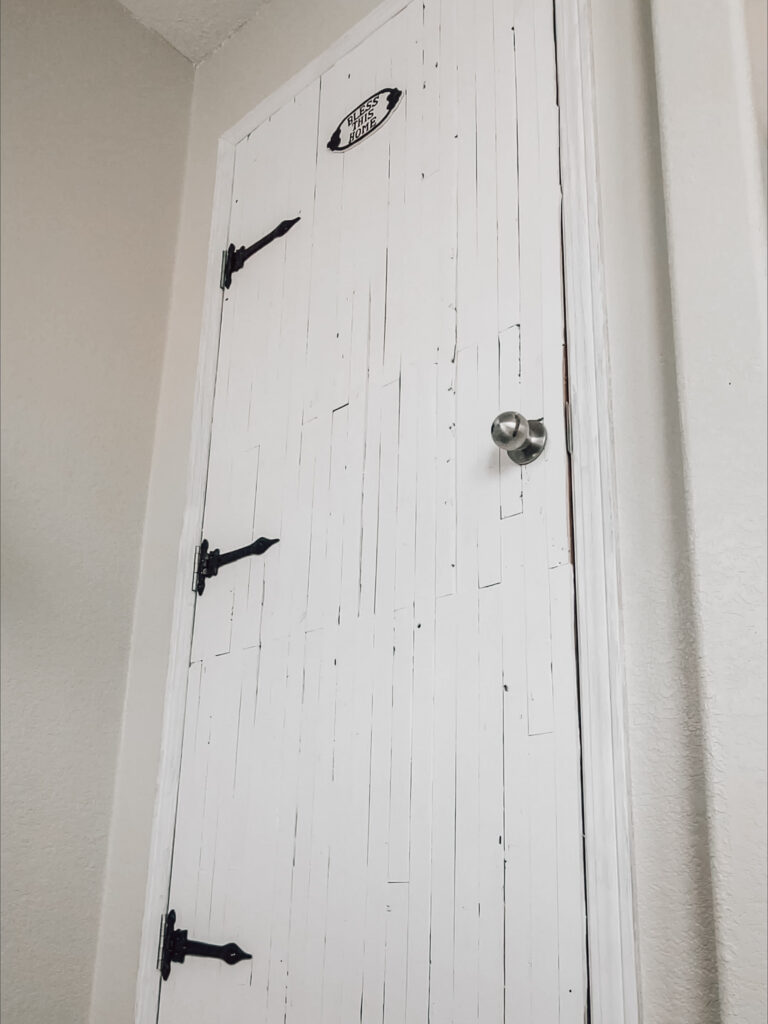
Creating and Painting DIY Doors
Creating DIY doors out of hollow-core doors is one of my favorite ways to create a big statement in a home fast. Each door can take quite a while, but it has the potential to make a large statement. Especially when you are upgrading from hollow-core doors.
I have used three different strategies when creating a DIY door. I have used barn wood to make my panels, you can see that process here. Another DIY creation process can be found here, this one was not my favorite DIY and I will most likely never that process again.
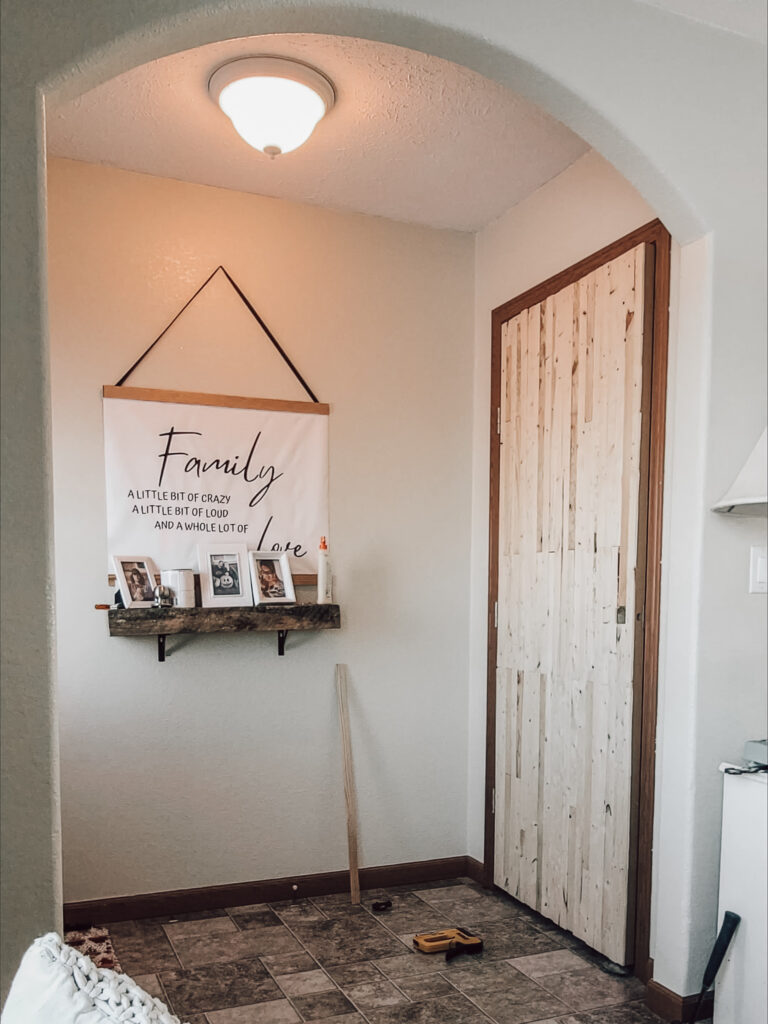
My current favorite way to create a DIY door makeover is to use lathe wood. A bundle of lathe wood is currently $29 at our local hardware store and it takes roughly 1/2 of the bundle to create a door like the one pictured below. Much less in the second picture where I have just created the illusion of a 2-panel door.
I have not created a tutorial on these, but the process is basically layering the lathe until you get through the entire door.
How much does Painting Doors and Trim Cost?
We have already covered how much painting trim costs, but how much does painting doors cost? Here is a rough breakdown.
Replacing doors in an entire house can be a huge and very expensive project. In our house, I estimated that replacing all the doors in our upstairs (9 doors- minus any inside bedrooms) would roughly cost us $1,441, minus all the hardware. Doing a DIY door makeover is around $206.86 for all the doors. The most expensive part of the door is my $22 dollar knob which would be $205.92 to replace all of them. For a grade total of
Per door, including my hardware, it averages about $45.86. This is also the most expensive door, there are many doors that cost much less depending on how much lumber I use.
Painting trim and doors overall is not a very expensive project when you consider replacing all your doors or trim with something new.
I want to address this in an entire new heading because
Materials for Painting Trim and Doors
I have already given you a lot of links and resources for painting trim and doors, so here I am going to highlight my ‘non-negotiables’.
Here are my top 4 things that I regularly purchase for painting trim and doors.
My Easy 5-Step Process for Painting Trim and Doors
This 5-step process has been my tried and true way for working my way throughout my upstairs level without losing my mind in the process. Painting trim and doors can be a lot of work, but the final results are well worth it.
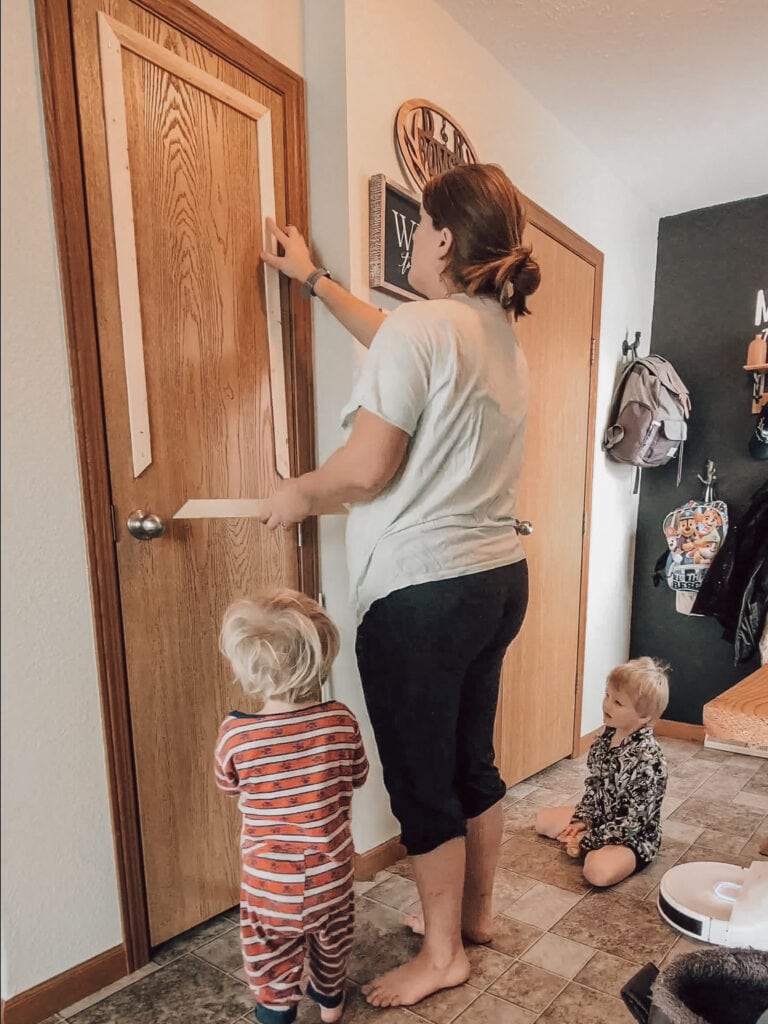
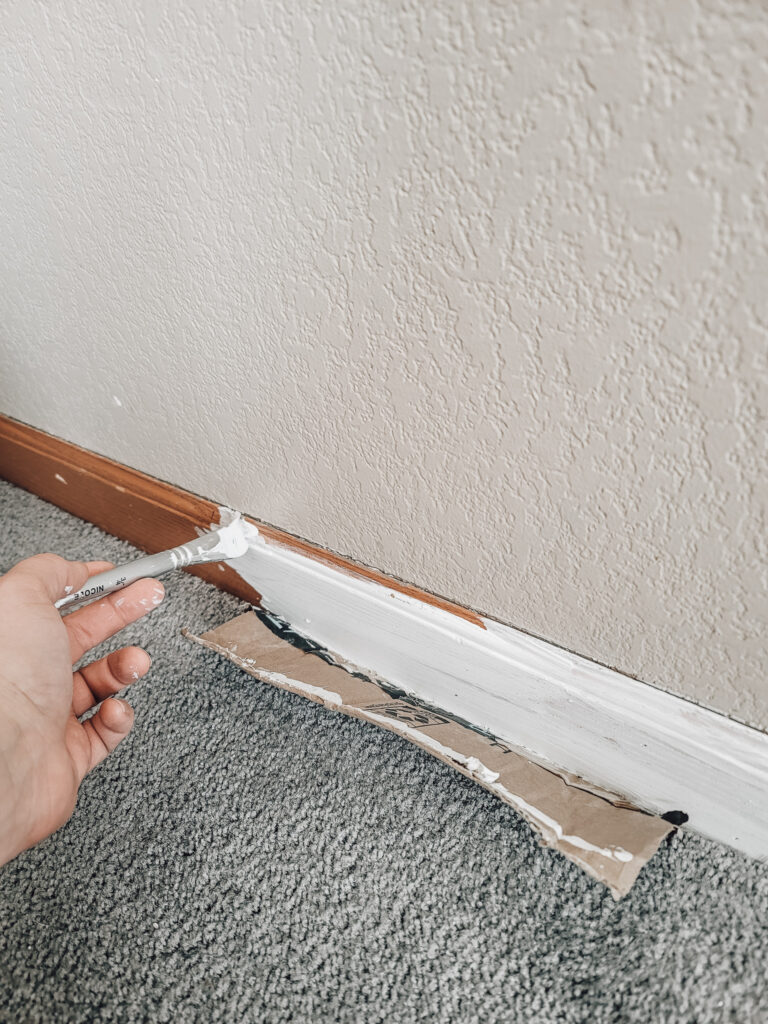
1. Prep all your surfaces. One room at a time.
Working one room at a time will help you bite off chunks of the project in smaller time periods. Instead of trying to get through your entire house, just prep and paint one room at a time.
I started in our front entryway and finished that entire area before I moved onto the next room.
2. Use a Slanted Small Paint Brush for the Upper Part of the Trim
If you have a steady hand, you can use a small angled paintbrush to carefully paint the top part of the trim. Alternatively, you can tape off the area to create a clean paint link.
I personally don’t like taping so I worked at creating a steady hand and then just paint with an angled paintbrush.
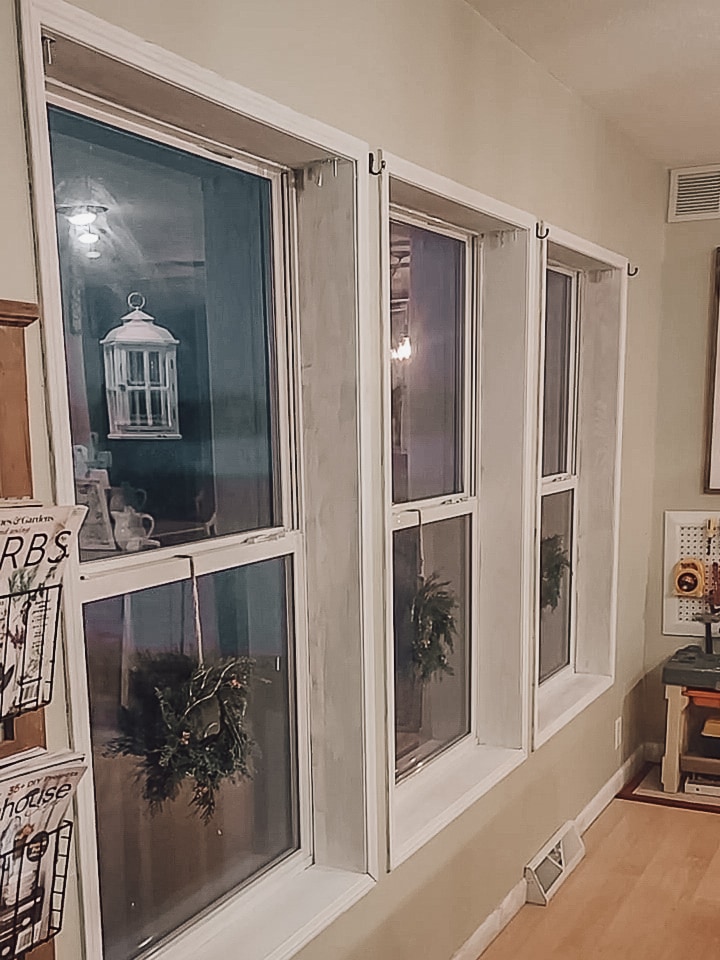
After I do my top piece of the trim, I use a large angled paintbrush to get the larger section of the trim. I use this same technique for window trim.
Protip! Use a piece of cardboard to keep your carpet safe!
3. On Doors and Window Trim, Work from the Top Down
The main reason for this is to help cut down on any paint drips that you may accumulate from above. As you work your way down you can smooth out any paint drips you may have accidentally created.
4. Let your first Coat Dry Completely
This one seems obvious, but it needs to be said.
If you don’t let your first coat dry completely, you will end up needing to put more coats of paint on. Your first coat will end up blending in with your second coat and you will still have wood peeking through.
I needed 3 coats of paint to get complete coverage.
5. Make Sure you Seal all Surfaces after you Finish Painting
Especially if you use chalk paint, you will need to seal all surfaces after you finish painting. Using wax or polyurethane is my favorite way to seal.
Tips for Creating DIY Doors
DIY door creation deserves a completely separate post, but because this post is about painting trim and doors, it needed to be included. Here are some tips and tricks for creating your DIY doors if you plan to create them while you are painting the rest of the trim in your house.
- Use both wood glue and staples or a nail gun to attach your wood to the door.
- Fake brackets can be a fun way to add some style to a DIY door.
- Be creative! There are many ways you can create a DIY door out of hollow core doors.
- Using angled cuts (45 degrees) give your frames a bit more class. I have used both straight cuts and 45 degree angles, and in my opinion that angles just look better.
- Be prepared to add many coats of paint to your doors. Doors take a beating and the more layers you can put on, the better.
Before and After Painting Trim and Doors
Painting your time and doors can make your whole house appear brighter and refreshed. It is an excellent way to update your home without spending a whole lot of money, and it also is a whole lot of fun!