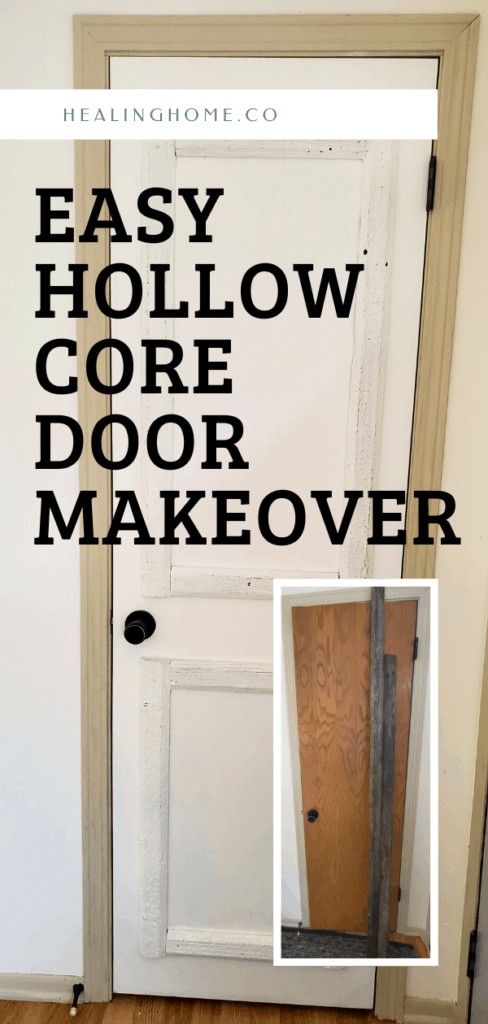
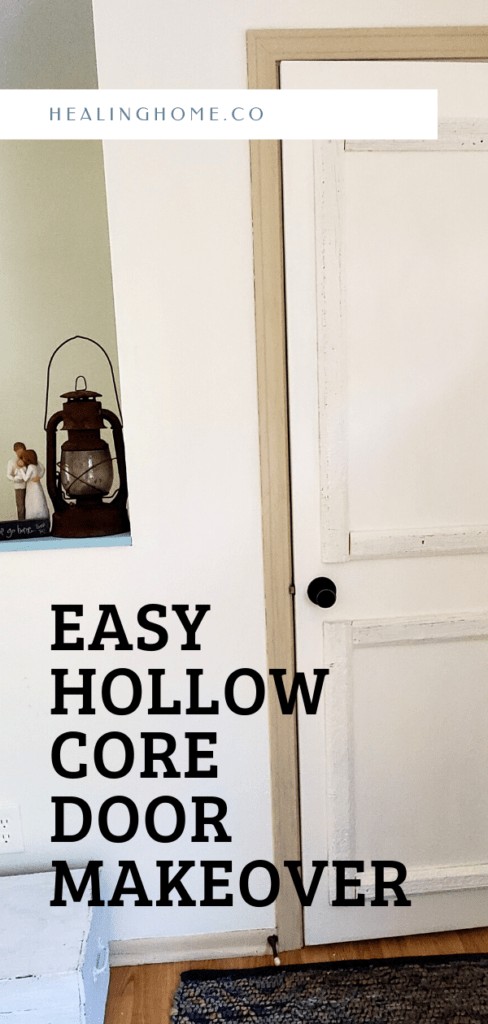
There are some things about my home that I really despise, one of them are my hollow core doors. Which makes me infuriated. I’ll explain more on that later, but what I discovered is that a hollow core door makeover was not only possible, but super easy!
If you have hollow core doors and despise them, like I did, it’s time you get out your tools, paint brushes, and bucket in for a super-fast and effortless way of transforming your doors. The first time I did one of these doors it only took me THREE hours and it looked beautiful!
This page may contain affiliate links. To view my full affiliate link disclosure, click here. There are Amazon affiliate links in this post. As an Amazon Associate, I make a small commission from Amazon links in this post. Find our privacy policy, terms of service, and more information about user data by visiting the links above.
Cultivating a Beautiful Home
Our homes are our homes. Our homes are our haven. They are what God has given us. It doesn’t matter is they are 10,000 square feet with a pool out back, or just over 1,500 square feet with a messy chicken coop out back. They are what God has blessed us with. When God blesses us with something we should be stewards of that blessing.
And what’s more we should be grateful.
When I think of my home I must remember as I get frustrated with all the things, I think are inadequate I am surrendering my heart to the things of this world. My heart is not being kept with vigilance, and my mind is not being renewed.
Romans 12:2 reminds us
“Do not be conformed to this world, but be transformed by the renewal of your mind, that by testing you may discern what is the will of God, what is good and acceptable and perfect.”
Romans 12:2 ESV
On this earth our homes are precious. From it we instruct our children. From it we create healing or destruction. From it we teach them the redemption that our Savior Jesus Christ has offered. Cultivating a healing home is an ongoing process and it’s not just about making our homes beautiful.

My hollow doors are one of those things I really don’t like them. They are hollow core, old, dingy, and gross. It was time for a hollow core door makeover.
I had decided long ago that they needed to be redone, but as I worked on the project my mind was pondering the above truths. In the grand scope of this work my inadequate little doors are worth truly little.
There is a tension with pursuing beauty and healing within the walls of our homes and teaching our children that these homes are temporary.
Starting the Hollow Core Door Makeover
If you have dingy hollow core doors that are driving you crazy, fear NOT! A hollow core door makeover is EASY! This project took me about 2 1/2 hours to complete and that was WITH a 14-month old’s ‘help’.
I had been eyeing up pins on Pinterest on how to do these doors and for years I felt like each tutorial was complicated and expensive.
This project cost me zero dollars. Yes, you read that right. I did not go out and intentionally buy anything to complete this.
The wood came from a pile out in my woods and that I had been collecting for projects such as this. The paint is what we are using to paint our walls. I used Gorilla Glue that I already had and dug through buckets of screws to find old ones.
Look around your house and determine if you have what you need to create your own panels before you go and spend money. Some of the best DIY projects are done with what you already possess.
Project Materials Needed
- Hollow Core Door
- The door I worked on for this project was 24in x 80in
- Barn Wood 2.5 inches wide
- Easily picked up around Facebook Marketplace.
- Or pick up these 48-inch planks through Amazon. They are an inch wider than what I used, however you can either strip them or use wider boards!
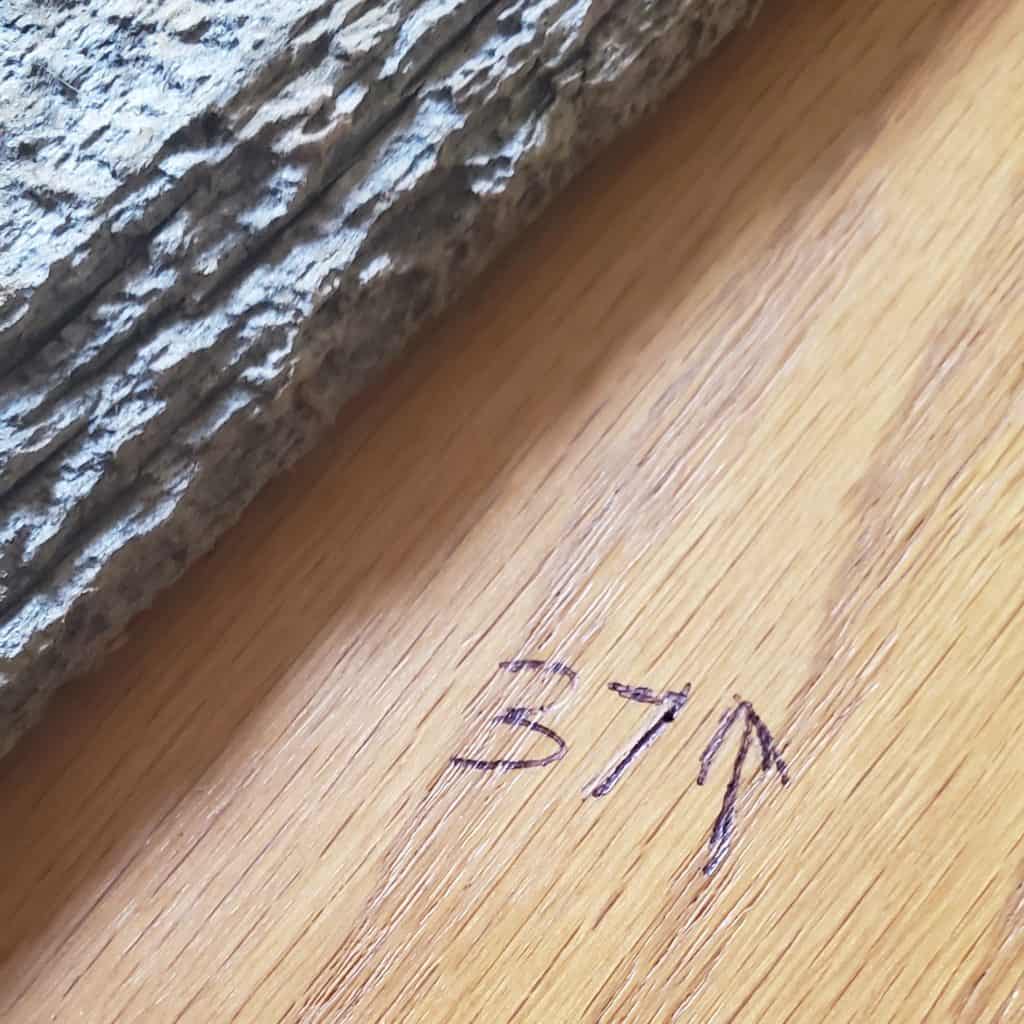
- For this door I used four 14-inch boards, two 37-inch boards, and two 28.5-inch boards. Each were 2.5 inches wide.
- White Paint
- For this project I used the same paint my walls are being painted with. We bought it from our local hardware store, it is called Dutch Boy Platinum Plus in eggshell ultra-white.
- However, most of my readers know I’m a huge fan of Cottage Paint and Rust-Oleum Chalk paint. Both would be excellent choices for a project like this.
- Original Gorilla Glue
- Honestly, you could use whatever wood glue you prefer, but Gorilla glue works the absolute best on most DIY projects I do.
- 14 1-inch screws
- I like to use the darker finish like these. If paint ever chips away on the screws or I want to sand down a portion of the board that is near the screws, shiny silver metal won’t be what comes through.
Simple Instructions
I’m tempted to tell you; Step 1: Assemble…and done. That’s how easy this hollow core door makeover can be! Yet I know that is not helpful to most people. However, let me encourage you by saying, this isn’t as hard as you might believe. The reason it took me years to attempt this is because all the tutorials were slightly different than my door. They used slightly varied materials than I was used to. Essentially…too complicated.
Simplify this hollow core door makeover by just moving forward. Decide of your material and start measuring. Will you use barnwood, trim pieces, wood? What color do you want it?
Presto! Your main decisions are made. Now start measuring!
Step 1: Decide how Big your Panels will be
Measuring takes the most time, but once it’s done, all that’s left is assembling and painting. So, take some time to look at your door and vision what you want it to look like. This is how I thought through my 2-foot-wide door.
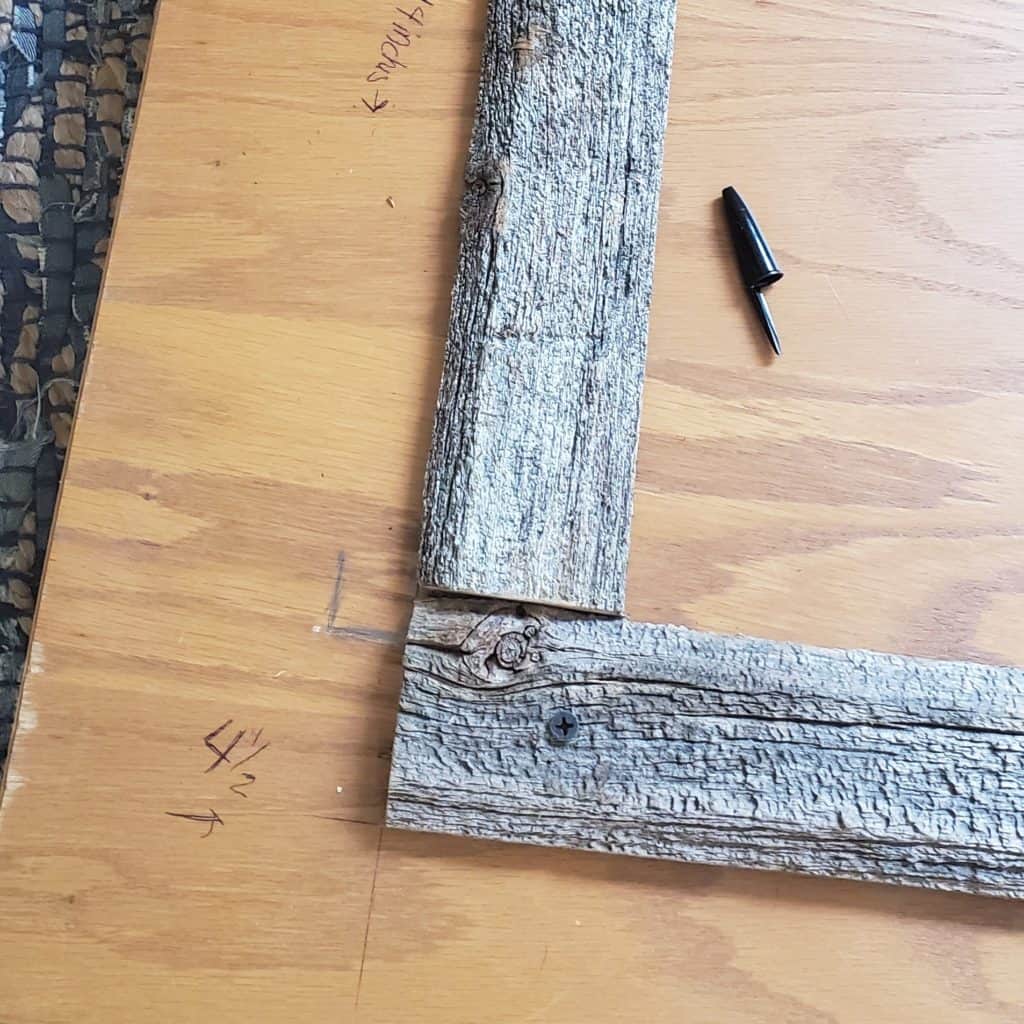
- The panels started 4 1/2 inches from the top and from the bottom.
- From the sides the panels would start 2 1/2 inches in. The doorknob middle was 2 1/2 inches from the side, and I liked how it would look more even.
- The top panel would be thirty-seven inches by nineteen inches.
- 2 37-inch boards
- 2 14-inch boards
- The bottom panel would be 28 1/2 by nineteen inches
- 2 28 1/2-inch boards
- 2 14 -inch boards
- Both panels were 1 1/2 inches away from the doorknob.
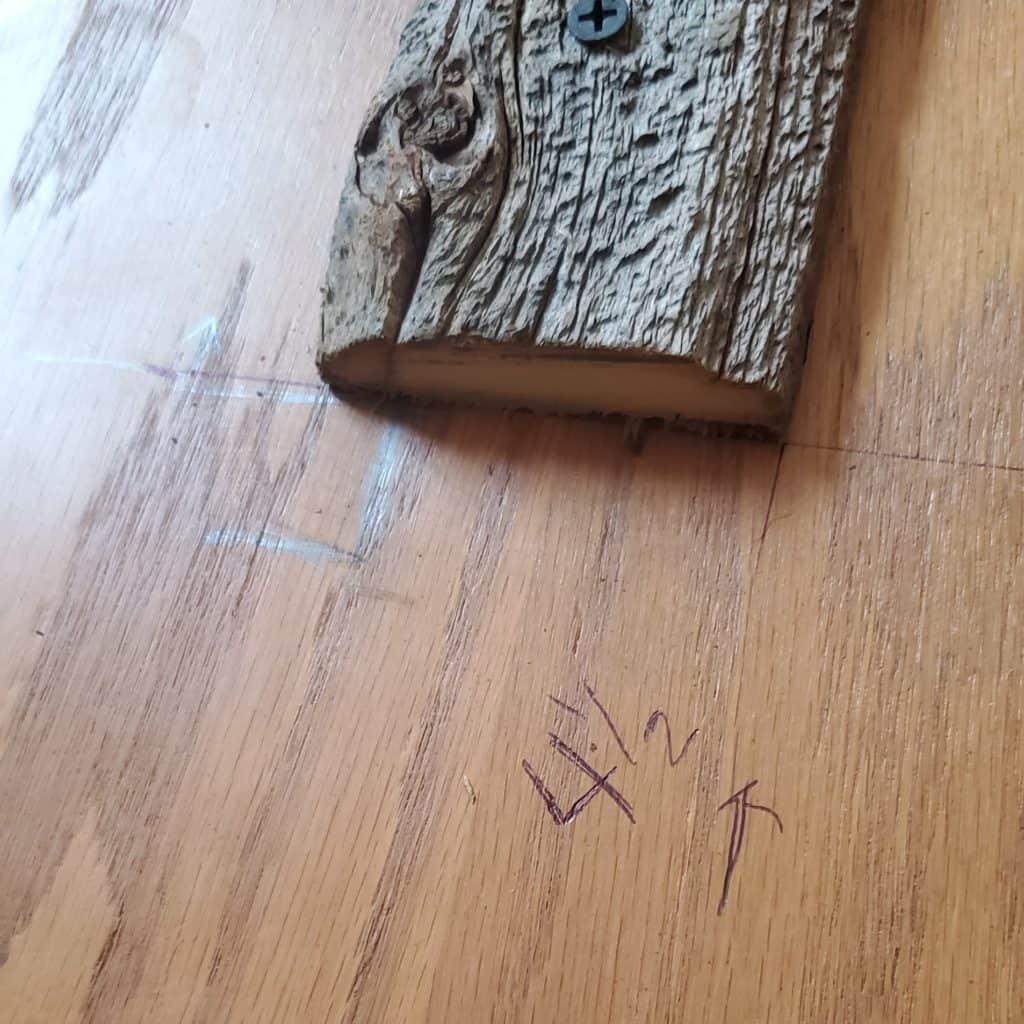
Your panels can look however you’d like them to look! You want three or even four panels! You get to be the engineer of this project so make it look how to want it. Measure and use a pencil to make marks on your door. Erase if you don’t like it and measure again. My door was full of marks. The wonderful thing is that paint will cover all of this once you get it assembled.
It is easiest to measure, erase, and experiment with this if your door is off its hinges. I didn’t go far. I just simply laid it down on my living room floor. Make sure that you are viewing your door from the correct side. When I took my door down, I started measuring it upside down and backwards! Thankfully, I quickly realized my mistake. An effortless way to remedy this is to write top and bottom on the door, so you know exactly where you are working.
Step 2: Cut your boards
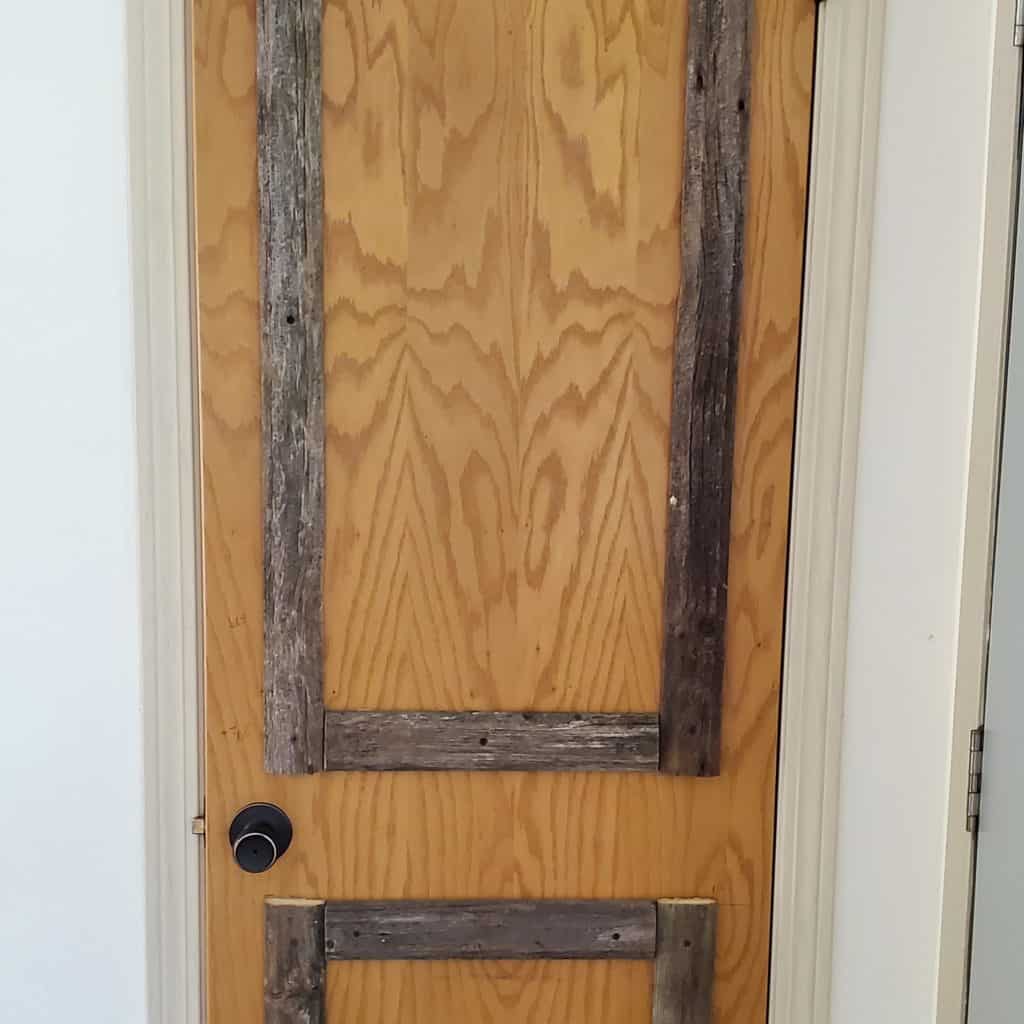
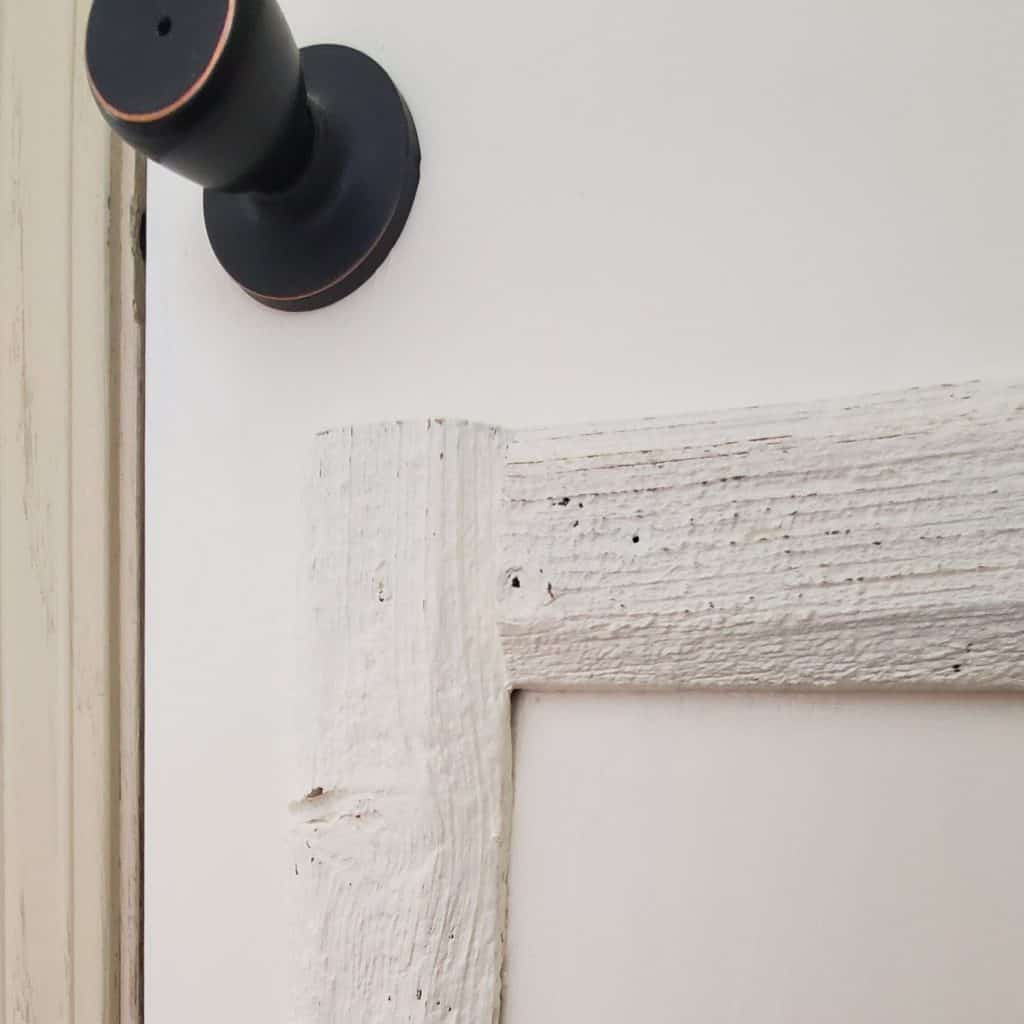
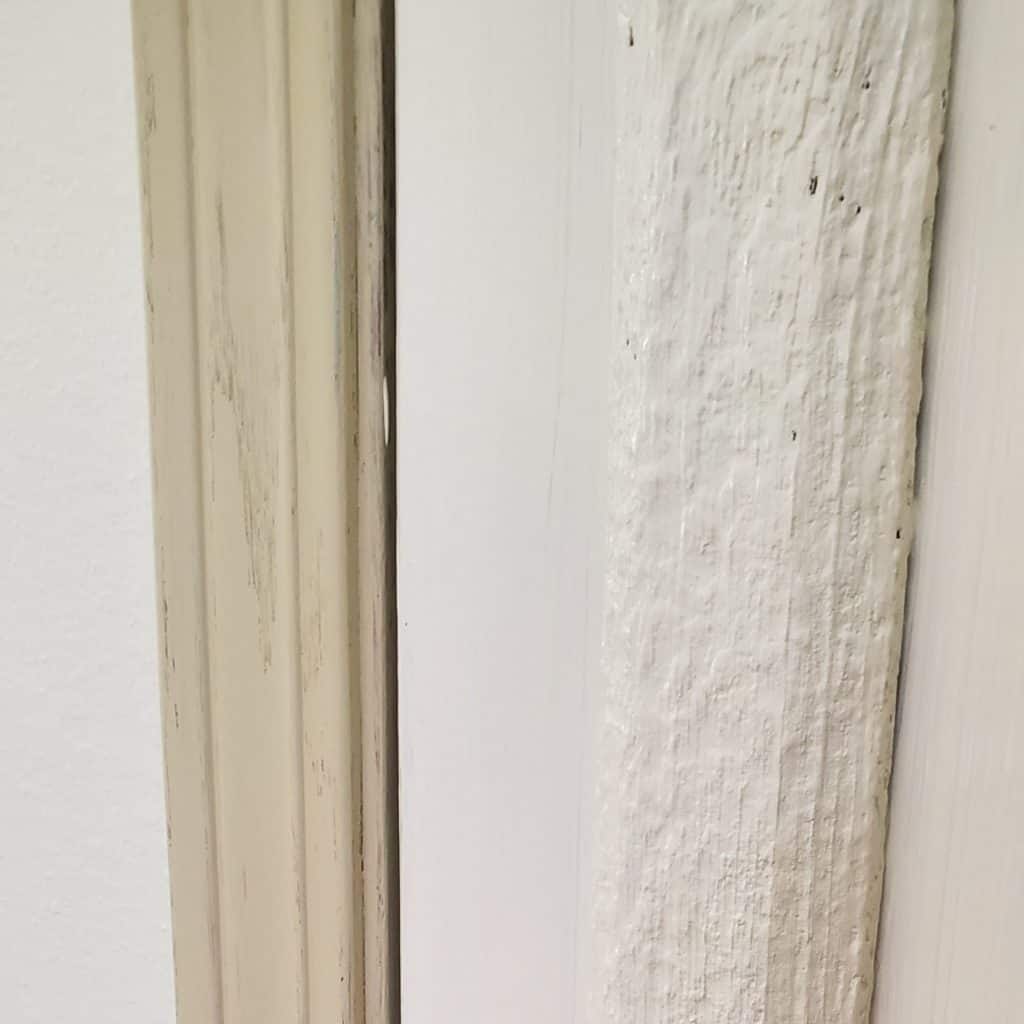
For this specific hollow core door makeover, I just cut all my boards straight. There was no angles or fancy cuts. You can change it up if you wish, but the pictures you will see here have straight cuts that I jutted up to create a seam.
I used many of the same techniques that I did in this DIY project in another door remodel project, but this time it was pantry door, and I love the results of this one too!
Step 3: Screw in your Boards and Glue
This is important. Do you glue your boards down until you know for sure everything is lined up and works to your liking!
Screw your boards down using 1-inch screws. Because it is a hollow core door, you will want to use heavy duty wood glue as well because the screws are not as trustworthy. If your boards are screwed down and everything fits to your liking, remove the boards one at a time, glue them down, and replace the screws.
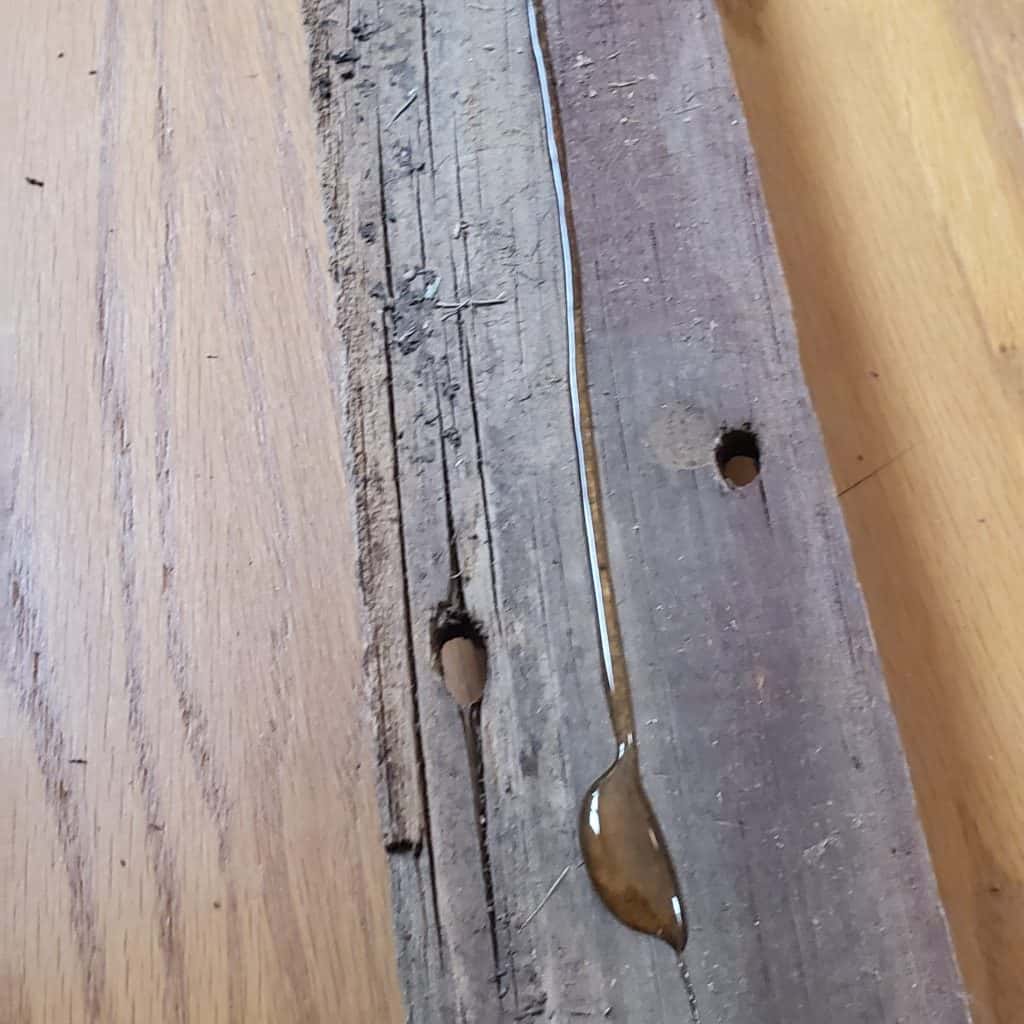
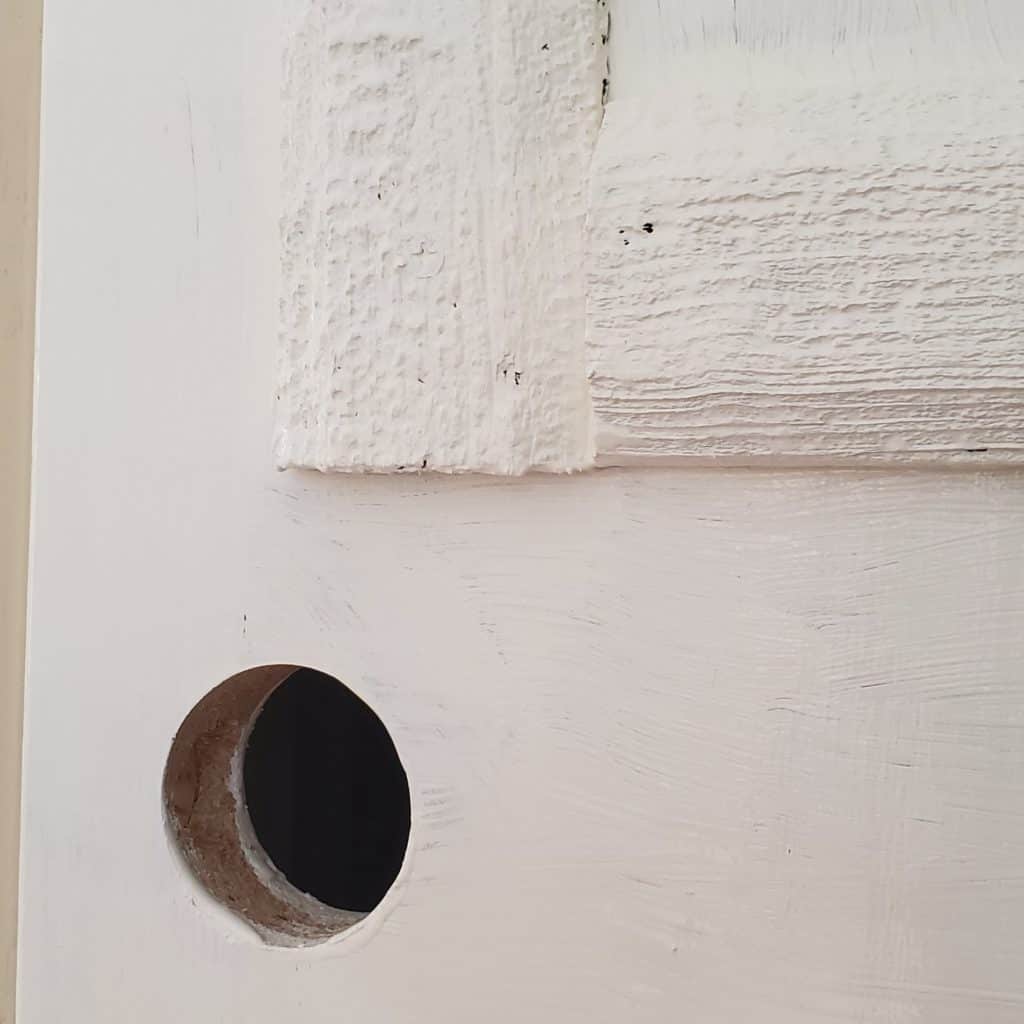
My favorite wood glue is Gorilla Glue, the original formula. You do not need to use a lot; the glue expands and adheres to all the surfaces as it expands. If you use too much it will seep through and dry puffy. You can see where I used too much in the picture below.
Step 4: Paint and Sand
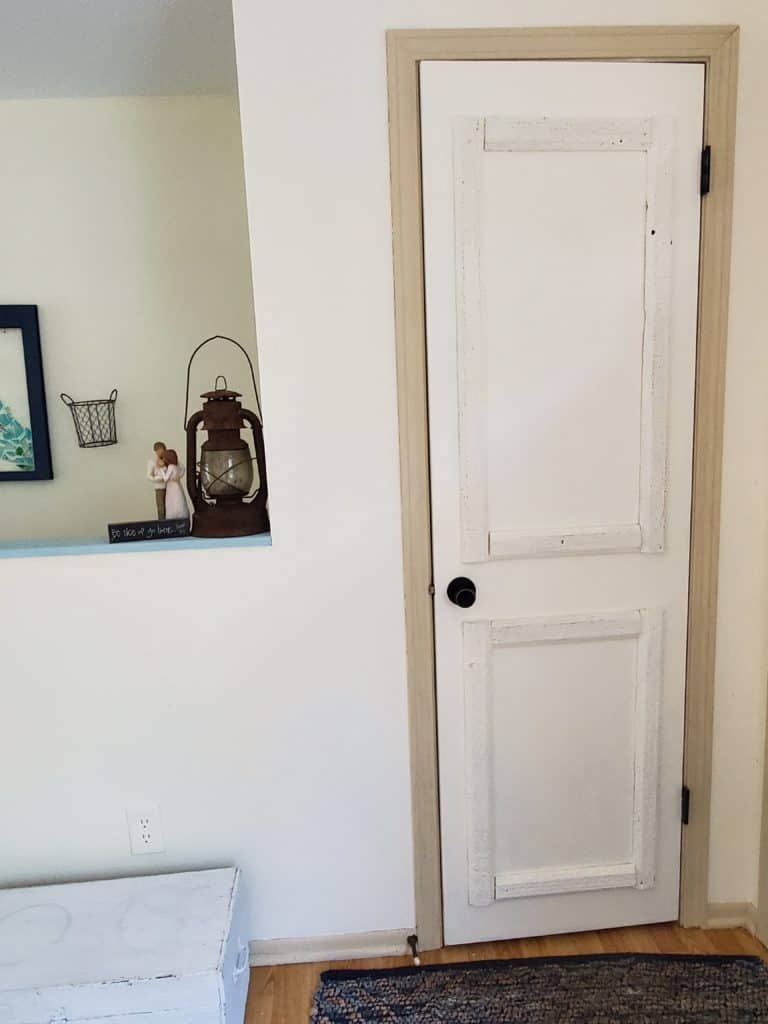
I used the same color paint as my walls, and the result was quite unifying and lovely. However, you have the freedom to use whatever color paint you’d like! My hollow core door makeover is going to look different than yours, and that is completely okay!
My door took three coats of paint and adequate dry time in between. I did put the door back up at this point because I didn’t want my 14-month-old trampling it. You will avoid drips if you paint it on sawhorses or on a kitchen table.
If you use barn wood you will find that slapping it one thick will help, and you don’t have to use three coats in that case. The door itself usually needs more coats.
Although I did not use Rust-Oleum paint, I am a huge fan of the results for most projects. Here are many of their colors. You will only need one or two coats. However, you will have to use a topcoat or a chalk paint wax.
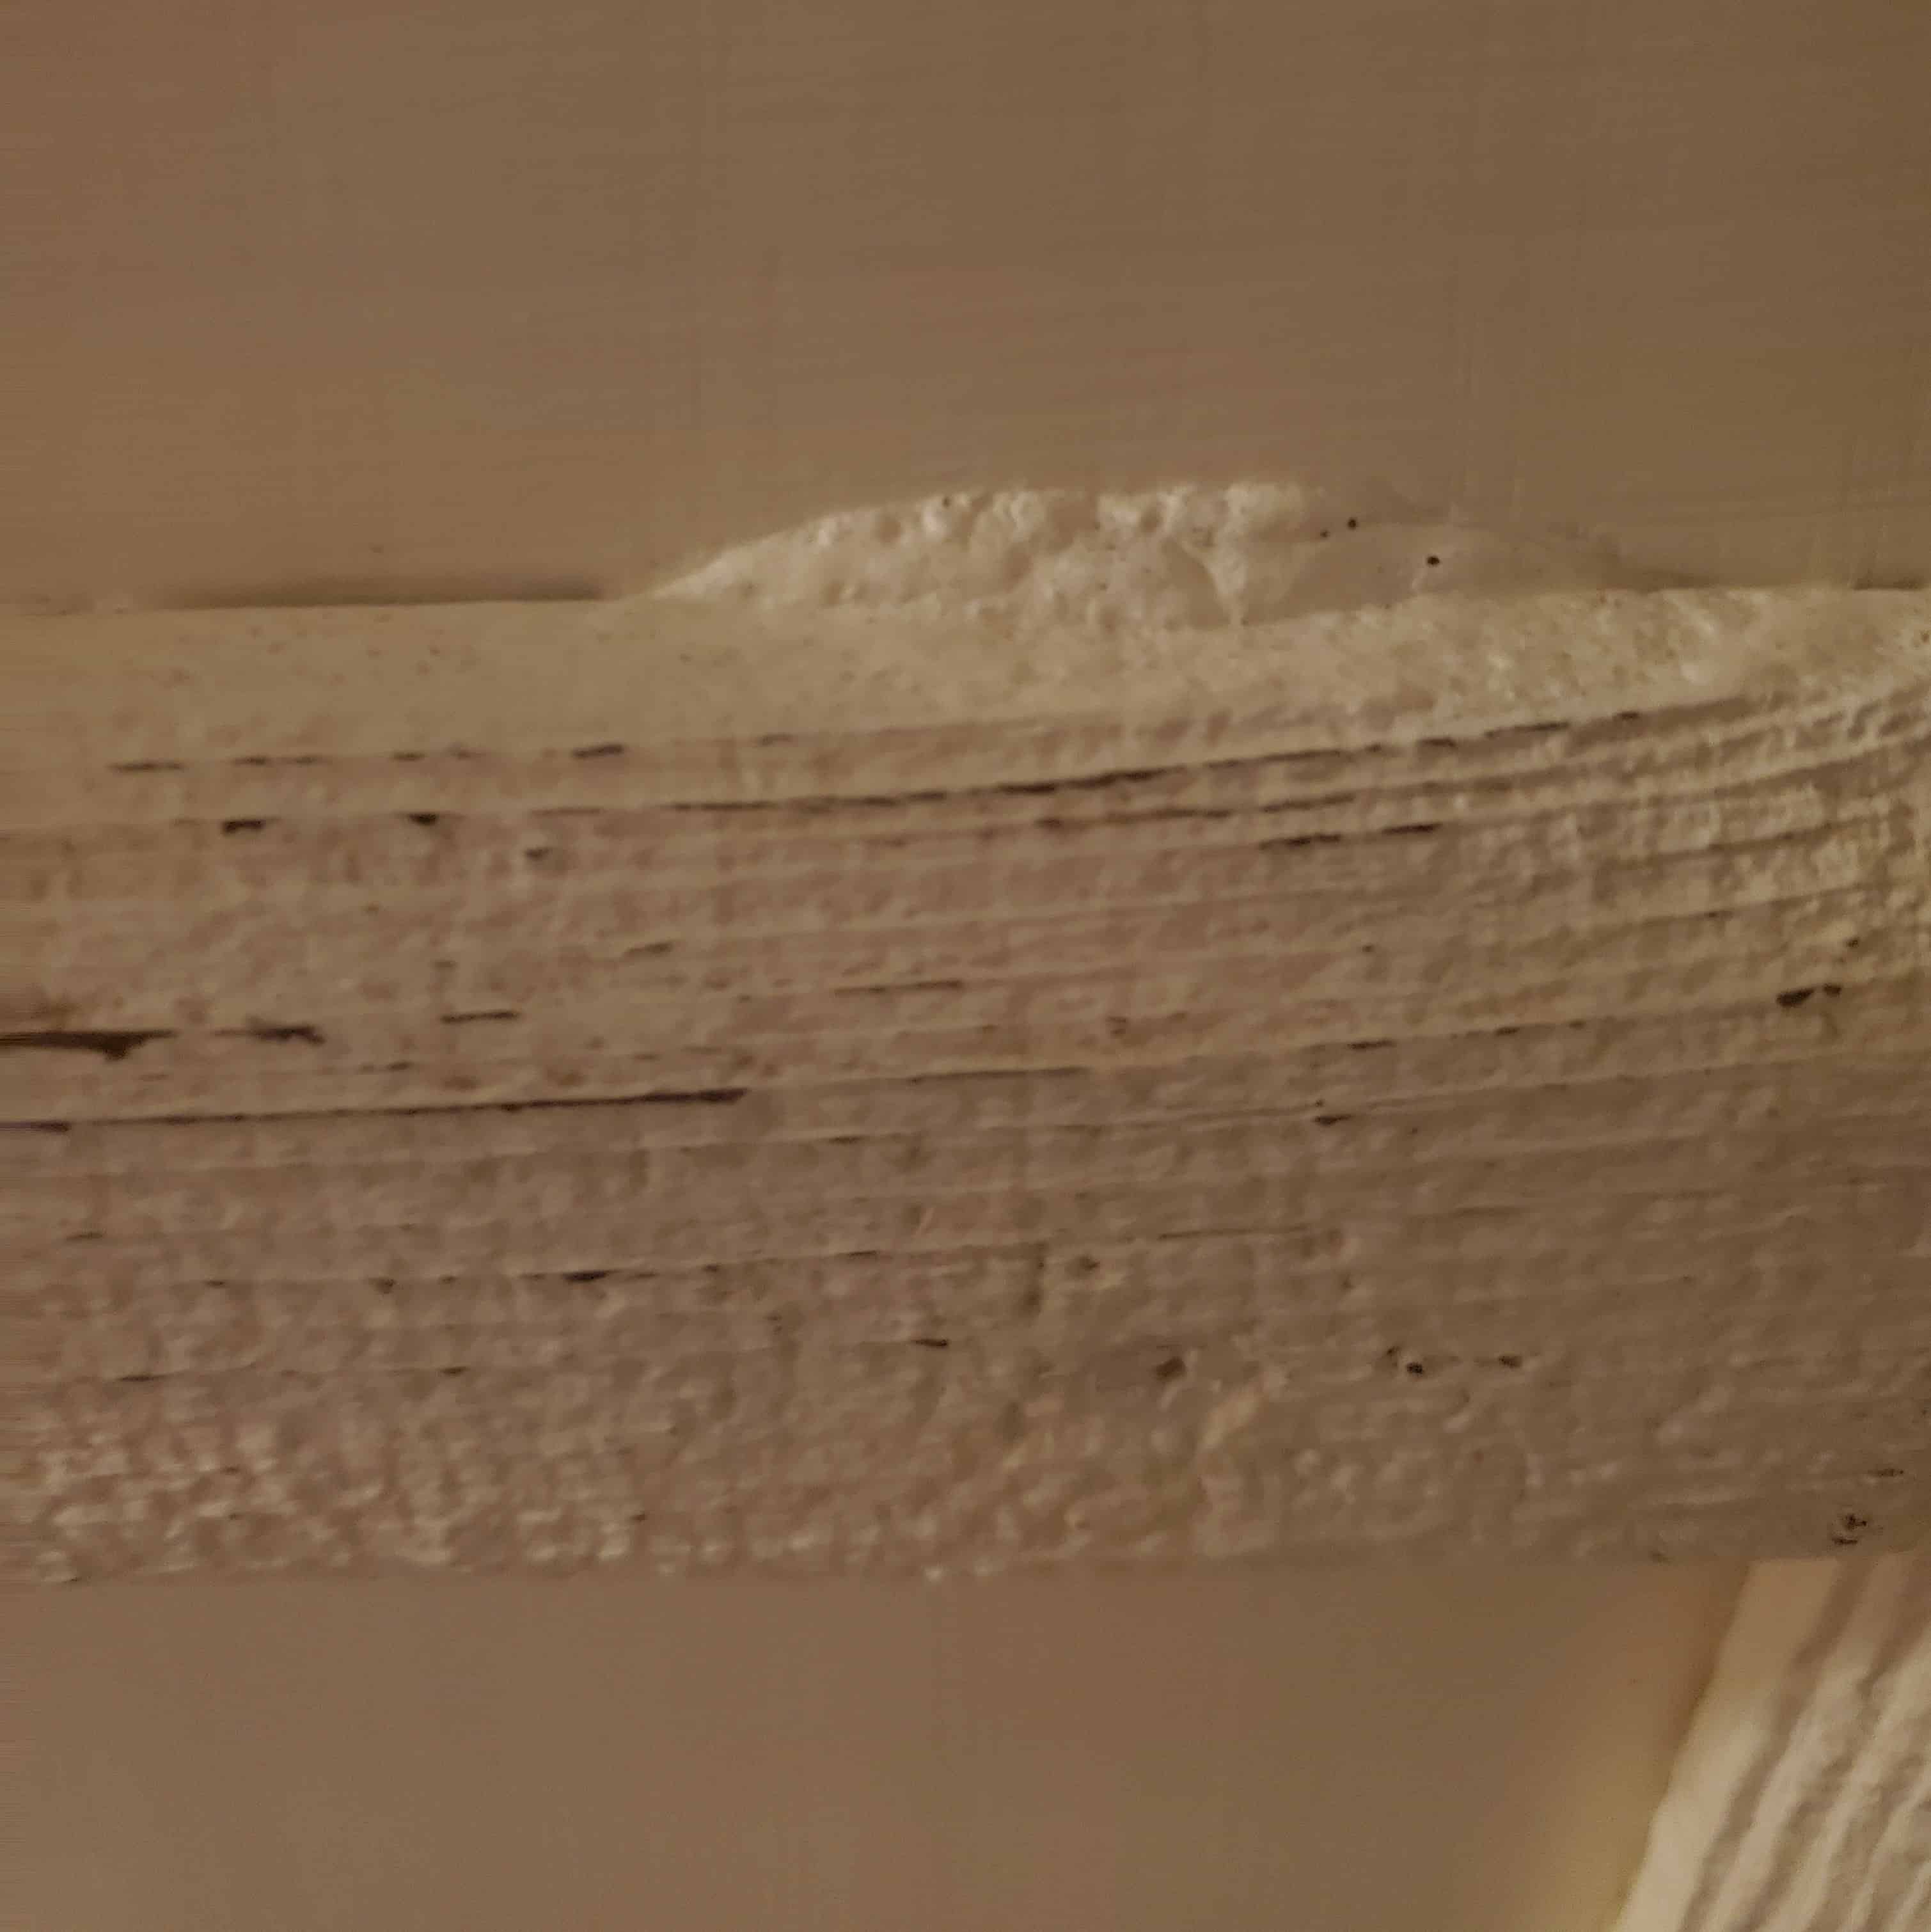
After the paint has dried, you can lightly sand the barn wood to give it a rustic look and feel.
Wala! You are DONE! And your space has been transformed!
Tricks and Tips
- This project took less than 3 hours
- If you want this project to take less time, STOP OVERTHINKING! That is the #1 problem ladies have when doing a DIY project. Just start doing.
- Lay out all your materials as you start. Having everything laid out is helpful so you’re not wandering to every corner of your house looking for a tape measure.
- This project was FREE
- Yes, I know that not everyone has stockpiles of barn wood, but what do you have? Do you have 2×4’s? Cut them in half and strip them down the middle! Do you have an old wood ladder you were going to burn? DON’T. Use the wood from that. Like me you could use the same paint you painted your walls. There are endless ways to make a door transformation cheap and yet beautiful.
If you attempt to make this hollow core door makeover, let me know over on Instagram! That is my favorite place to hang out and I love seeing everyone’s DIY home projects!